What can you do with that mountain of old useless 40k grechin? Give them a make-over. Here is what you need: old 40k grechin, WHFB goblin head, x-acto knife, & glue.
Showing posts with label Orks. Show all posts
2009-05-02
Tutorial - Grechin to Grot
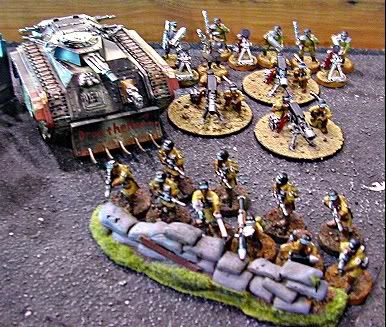
In celebration of the new IG codex it's time to start a rebel grot army!
What can you do with that mountain of old useless 40k grechin? Give them a make-over. Here is what you need: old 40k grechin, WHFB goblin head, x-acto knife, & glue.


What can you do with that mountain of old useless 40k grechin? Give them a make-over. Here is what you need: old 40k grechin, WHFB goblin head, x-acto knife, & glue.
Labels:Orks,Painting and Modelling
2008-12-27
40k Objectives
There are three reasons to make your own objectives:
1) Extra points for painting score in tournaments
2) Extra points for sportsmanship score in tournaments (offer to let you opponents use them)
3) The "Oooo you made your own objectives, cool...." effect from your opponent
Simple Objectives:
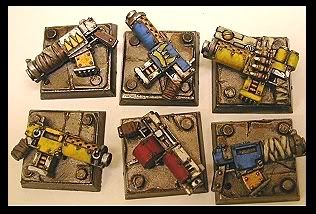
Guns: Anytime we play the 2+D3 objective game, the scenario is always "Get Da Bosses GUN!" To make some of your own, use small WHFB bases with some plastic-card added to the top and a few left over guns.
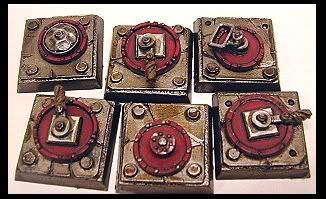
Explosives: would work great for a Chaos or Convict IG Army. Your army could either be arming or disarming them depending on the scenerio.
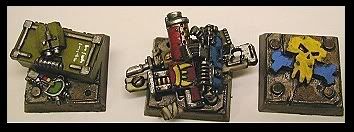
They're made just like the gun objectives with WHFB shields used for the explosive. The handles are leftover plastic-card and bitz. The ones with cloth handles are made from Tau bonding knives.
Assorted Generic: a listening post, weapons cache and downed waaagh banner. Made from leftover IG bitz, assorted leftover guns, ork glyf from the nob blister, respectively.
Advanced Objectives
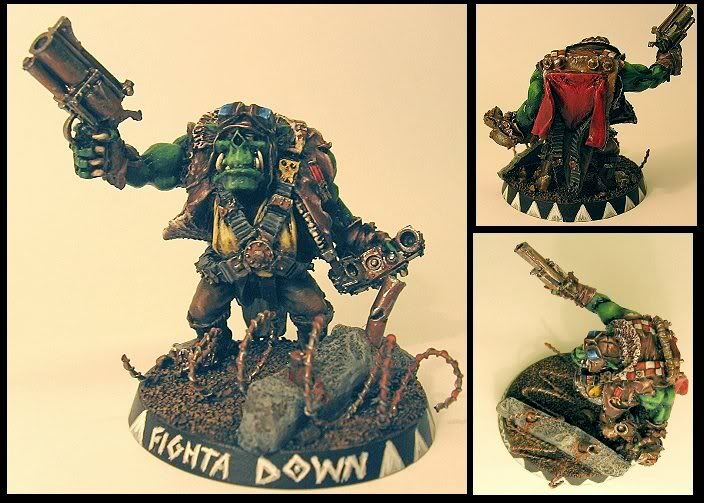
Forge World Fighta Bomba Pilot: I didn't want to alter this sweet model, but to play him, I would have had to convert. As an objective, I get to use him as is in every game. In a bigger game he may play the part of a stripped down nob.
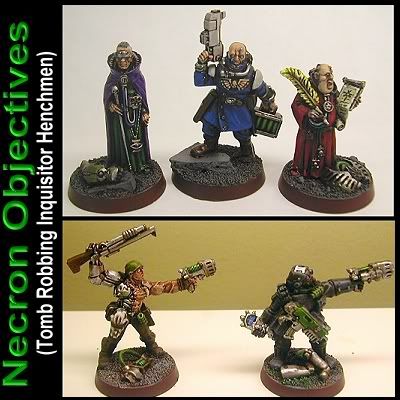
Necron Objectives: The fluff behind them is that they are a pesky Inquisitor retinue snooping around the downed tomb ship. I put destroyed necron bitz on their bases so that they would tie in nicely with my necron army.
Also, when I do that Inquisitor army I want, I'll already have a head start.
1) Extra points for painting score in tournaments
2) Extra points for sportsmanship score in tournaments (offer to let you opponents use them)
3) The "Oooo you made your own objectives, cool...." effect from your opponent
Simple Objectives:
They're made just like the gun objectives with WHFB shields used for the explosive. The handles are leftover plastic-card and bitz. The ones with cloth handles are made from Tau bonding knives.
Advanced Objectives
Necron Objectives: The fluff behind them is that they are a pesky Inquisitor retinue snooping around the downed tomb ship. I put destroyed necron bitz on their bases so that they would tie in nicely with my necron army.
Also, when I do that Inquisitor army I want, I'll already have a head start.
2008-10-03
Dramatic Poses - Orks
Until recently, repositioning orks has been an annoying task. I usually end up getting stuck to the model and the pose isn’t exactly what I had intended. I have found that using polystyrene rods and a pin vice allow one to reposition orks (kind of like action figures) several times until the desired look is achieved and is cleaner when time to glue. Here is what I did:
What you need: pin vice, exacto knife, glue, & polystyrene rod
Step 1: Cut
Step 2: Drill: I don’t normally drill the shoulders, but I did for the tutorial.
Step 3: Insert rods:


Time to pose:: all poses were done with the same ork. The first picture is a standard pose. With a simple twist of the wrist allows for a variety of different looks


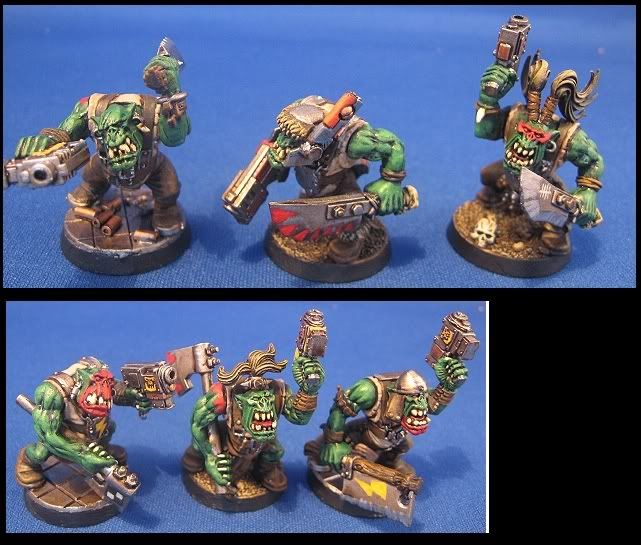
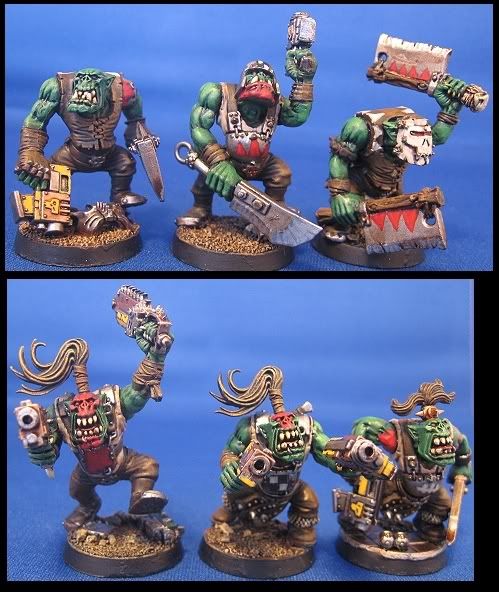
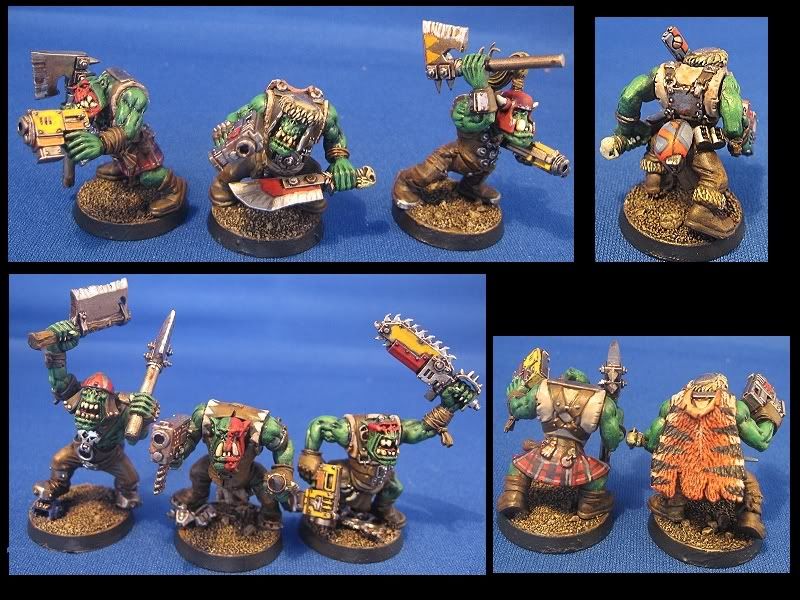
Here are some finished orks using this method. These orks are made from a combination of 40k ork and WHFB orc models:


What you need: pin vice, exacto knife, glue, & polystyrene rod
Step 1: Cut
Step 2: Drill: I don’t normally drill the shoulders, but I did for the tutorial.
Step 3: Insert rods:
Time to pose:: all poses were done with the same ork. The first picture is a standard pose. With a simple twist of the wrist allows for a variety of different looks
Here are some finished orks using this method. These orks are made from a combination of 40k ork and WHFB orc models:
Labels:Orks
2008-09-12
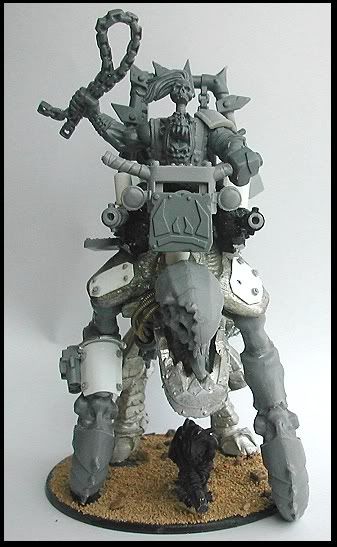
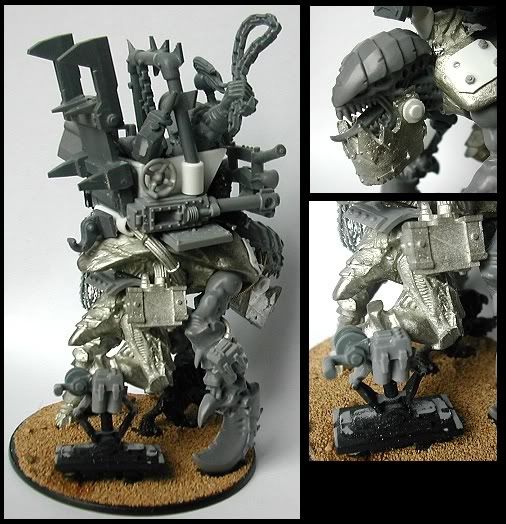
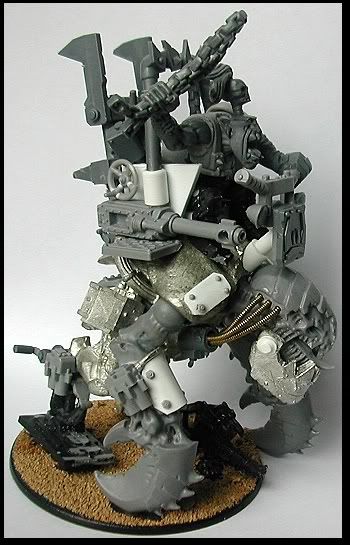
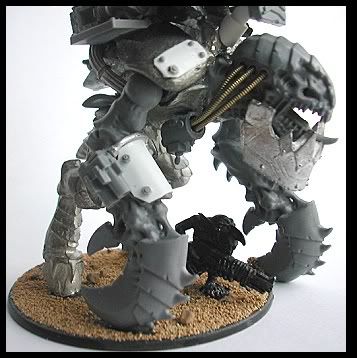
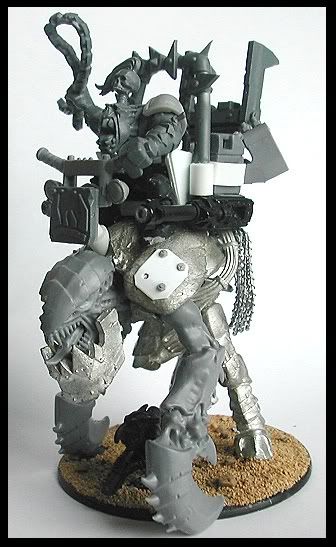
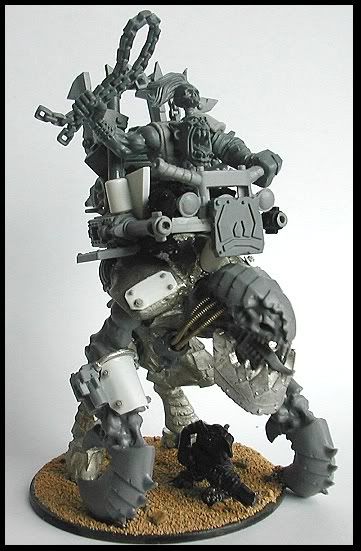
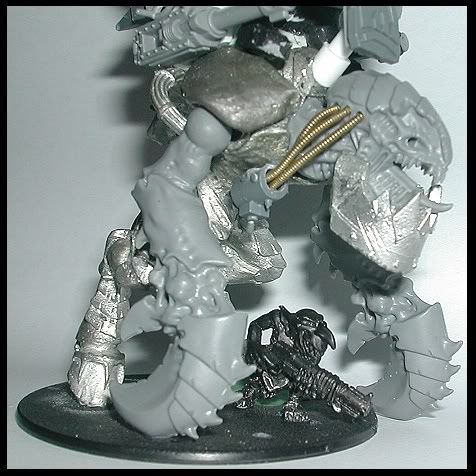
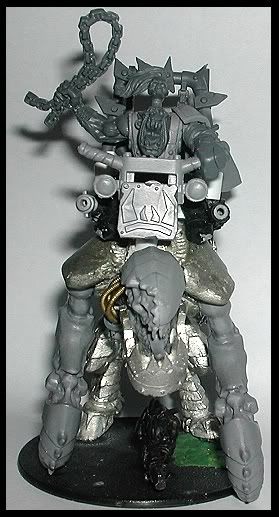
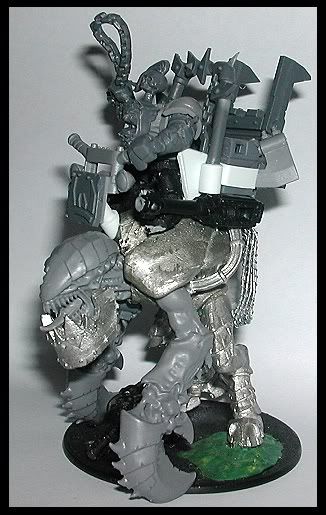
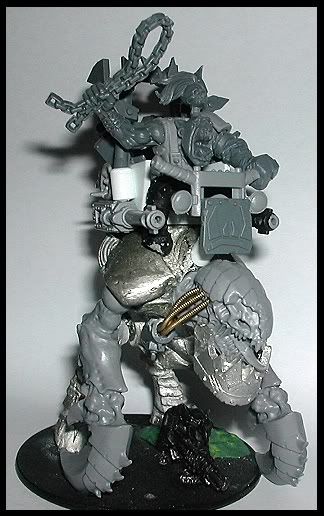
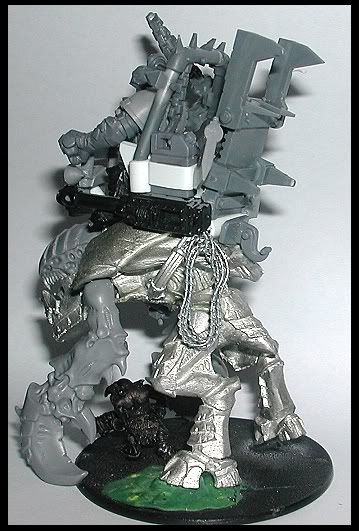
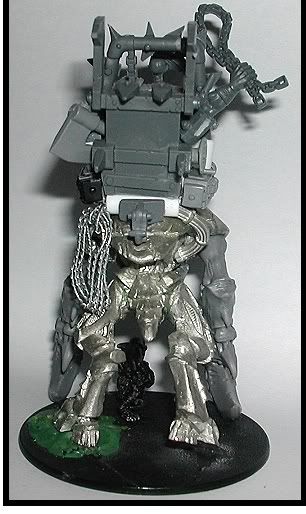
Looted Carnifex
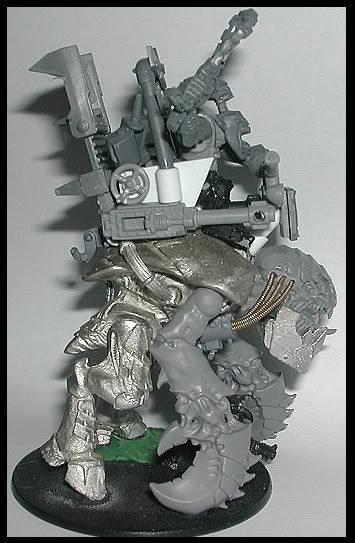
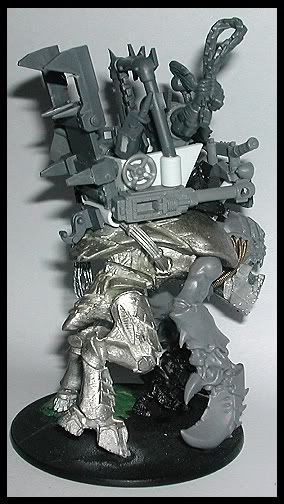
I had an old carnifex sitting around & I needed a dread....so... it's looted carnifex time at the RollinWaaagh. Let me know what you think
Cheers,
Jeff C. (a.k.a. rebreather)
++++UPDATE++++
Bionic leg... ahhhhhh yeaaaaaaaaa.
--------------------------------------------------------------------------------------
--------------------------------------------------------------------------------------
Labels:Orks,Painting and Modelling
2008-09-09
'Eavy Nobz on the Battlefield
Let's just say--it was ugly.
I tried out a speed list with nobz in battle wagons, stormboyz, kommandos, boom wagons, and a few skorchas on the "Dawn of War" set up.
Which might have been fine, if Jeff B hadn't won the first turn, which meant he got to play his nasty little deployment trick. He put three squads of troops as far forward as possible, forcing me back to 6 inches from my board edge. Then he sent all 3 squads running back to his front lines.
I should have have put NOTHING out the first turn, and deployed the second turn.
But no.
I (brilliantly) put out my 2 battlewagon-nob squads (2 troops & HQ)--which were (shockingly) blown to kingdom come.
I've been talking orks with Jeff B for a while now and have strong-armed him into giving me his yet-untested Foot Slogger list. So next time we play, it will be 2 Jeff B lists going head to head. Maybe then, I can beat him. The ork list does look pretty tough.
Cheers,
Jeff C
Labels:Orks
2008-09-04
Tutorial - Painting Da Boyz
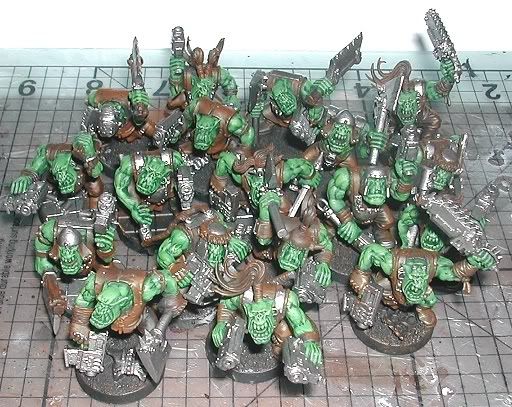
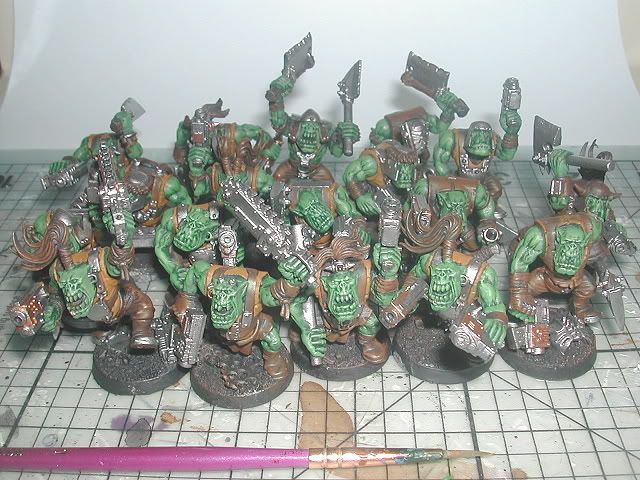
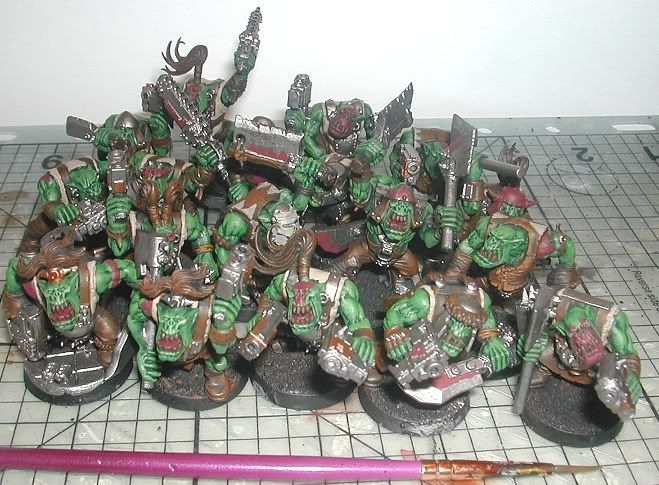
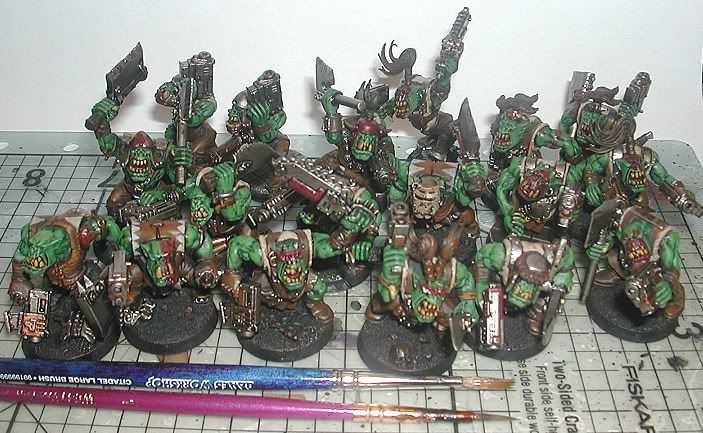
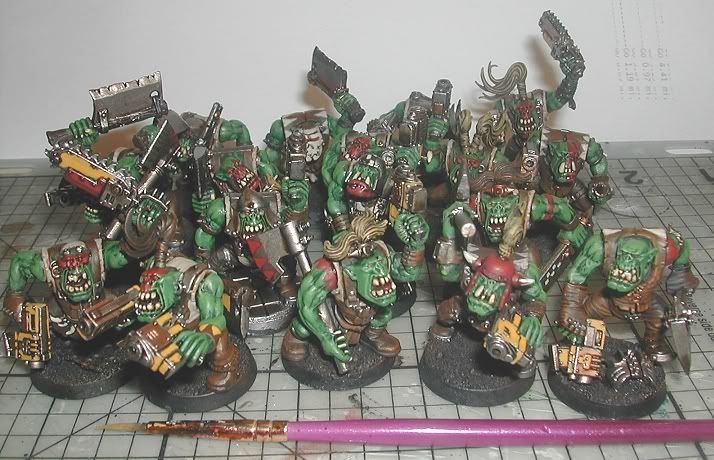
So you want to paint some orks... well you've come the right place. My method seems a bit lengthy, but it really isn't to bad (the secret is in the ink). The only thing I do differently now is the addition of rust. Check out the Rust Tutorial for more info on that. Alright, enough talk. Grab you paints & favorite movie (I like really bad scifi), it's time to get green! Cheers, Jeff C.
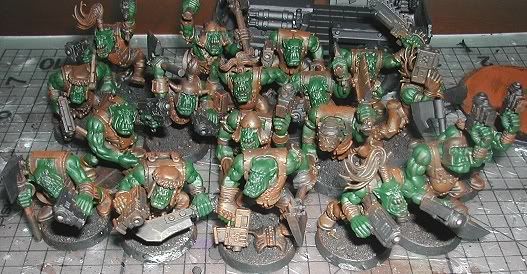
(1) base black
(2) drybrush scorched brown
(3) drybrush bestial brown
(4) block in dark angels green
(5) drybrush snot green
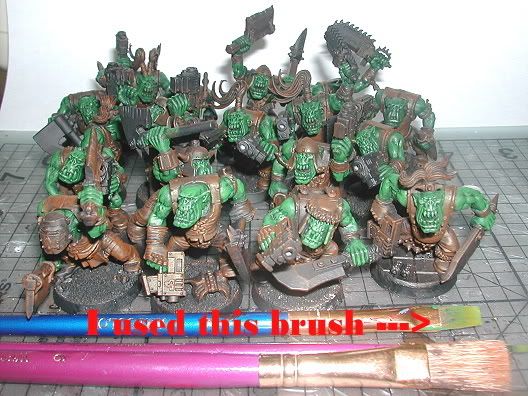
* for skin I use a flat brush to drybrush. For the initial brown drybrushing I used the fatter, stiffer brush below.
(6) drybrush goblin green with a little snot green mixed in.
(7) block in boltgun metal
(8) block in dwarf bronze mainly on guns
(9) block in snakebite leather for their shirts. A few were left scorched brown so it would look more like leather.
(10) block in KommandoKhaki over the snakebite leather (11) warpaint on skin & weapons Scab Red
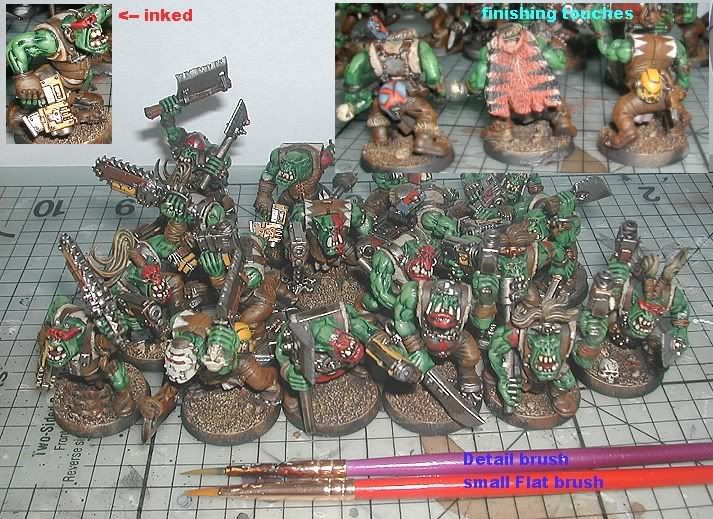
(13) Lightened up the red paint with some Red Gore, then a 50/50 Red Gore & Blood Red mix. (14) Added some yellow mainly to the guns. First it was a coat of Bubonic Brown then I lighted it with a coat of Golden Yellow. I made sure to let the edges of the Bubonic Brown show through (basically a very simple blend).
(14) I used future floor finish, water, a little green ink, & even less purple. I used it to help define the muscles. You'll see a close up in the upper left corner. I was pleasantly surprised.
And here they are...
Labels:Orks,Painting and Modelling
Subscribe to:
Posts (Atom)