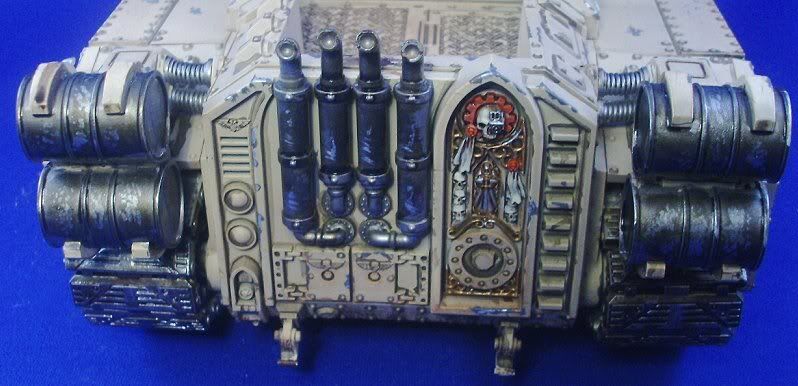
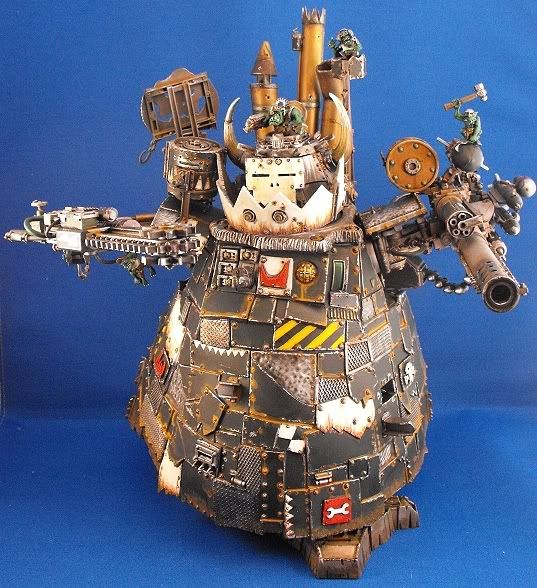
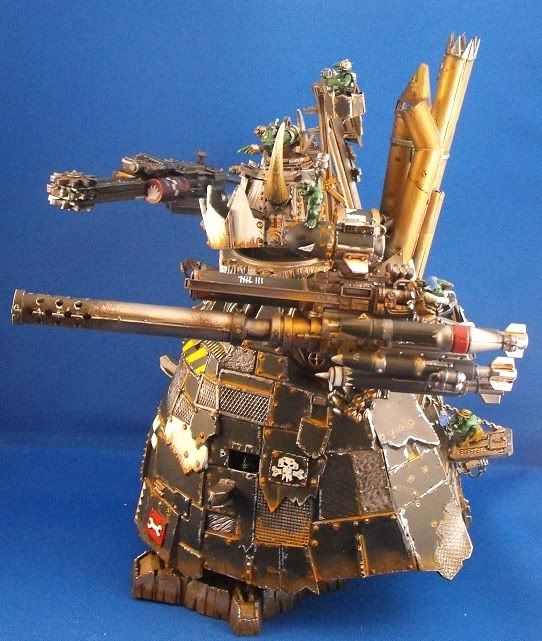
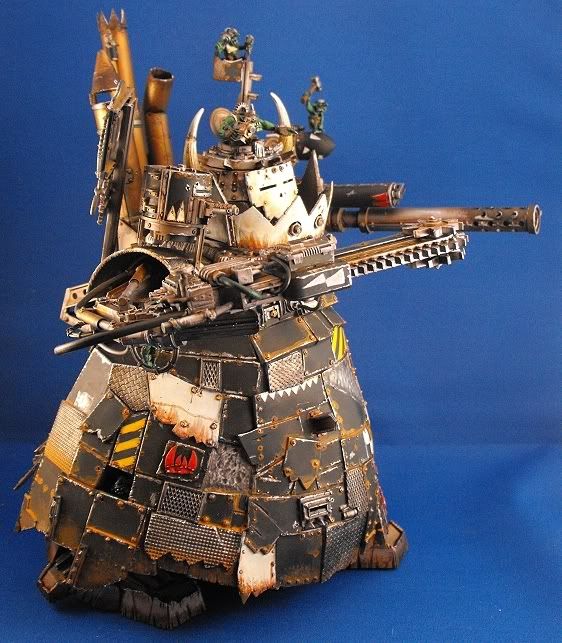
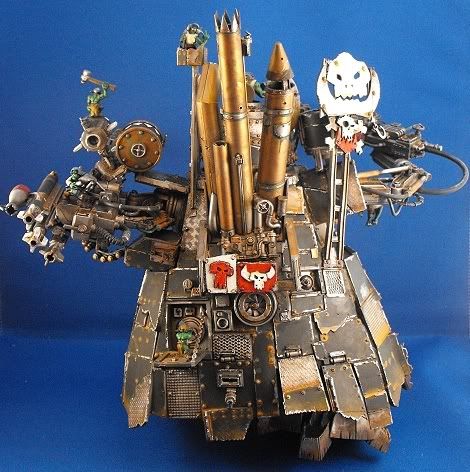
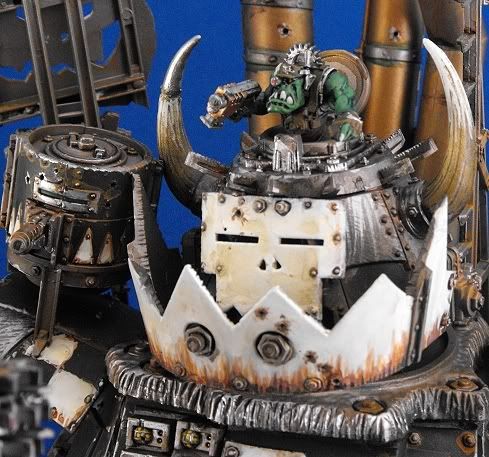
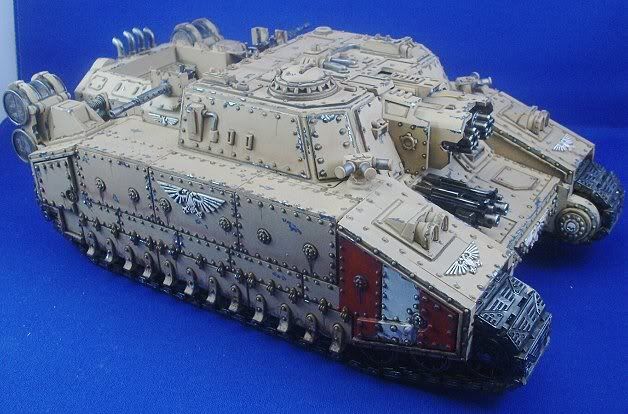
Apparently it's a super-heavy time here at the rollinwaaagh. We started off with a Stompa (which is now on it's way to a Dallas Texas GW store, say hi to it for me if you see it) and now we are on to a Stormlord. Why a storm lord... two words: FOUR DREADS. Ahhh yea. With a transport capacity of 40 & and walkers taking up 10 slots, that's four glorious dreadnoughts dumping out of this monstrosity and getting in your grill. Also, since it counts as open-topped, those dreads will be pouring out plasma death while waiting to disembark and assault. Now that is some nasty business. The stormlord is a great looking model & not to bad to paint. Scroll down to see how I did itt:
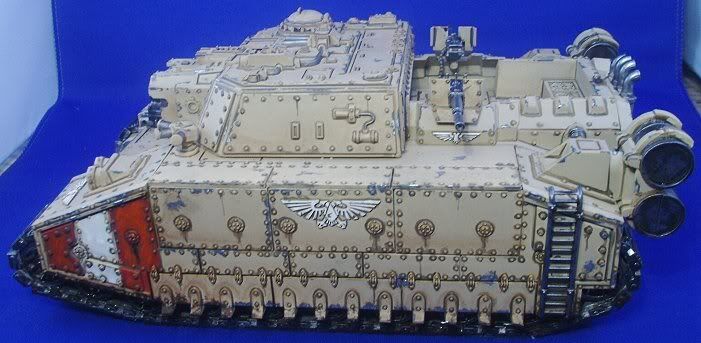
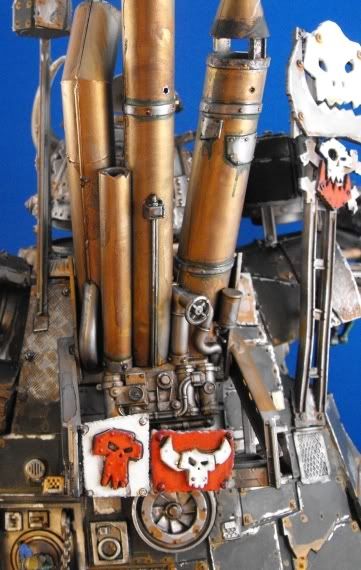
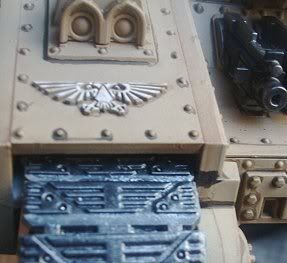
1) Base white, airbrush Kamando Kachki, & paint metal bits Boltgun Metal
2) Air brush with a light wash of Scorched Brown
At first I wasn't really pleased with the outcome, but once finished I liked it.
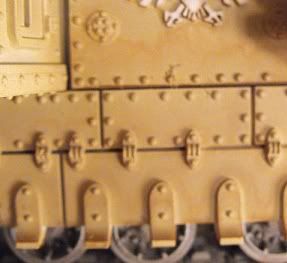
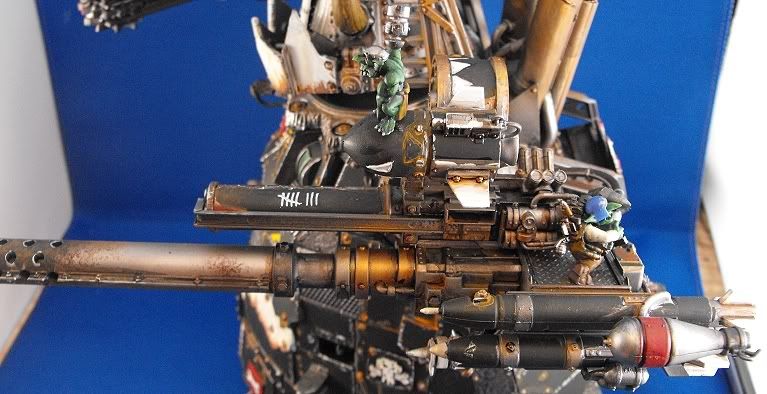
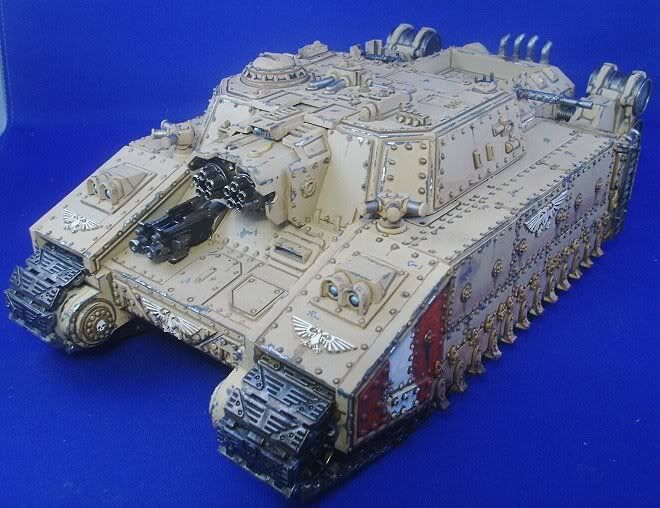
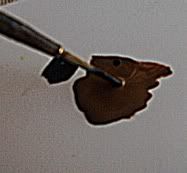
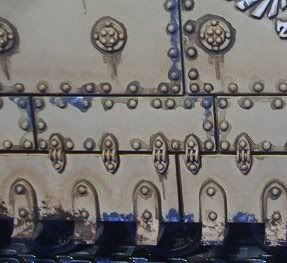
3) Hit all of the rivets and recesses with a wash of Chaos Black & Graveyard Earth. I'm not positive of the proportions but I included a picture of the amounts. Also, during this time I gave a wash to the metal. You can find the recipe for the wash by clicking here & scroll down to step 12. Yes, washing these rivets is going to take a while so put in that director's cut of Alien's in and get to work!

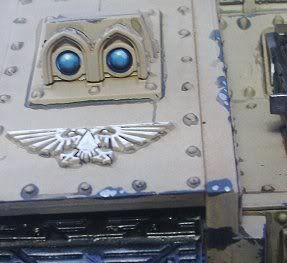
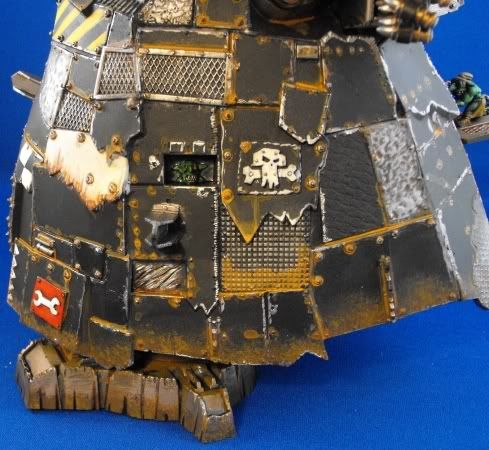
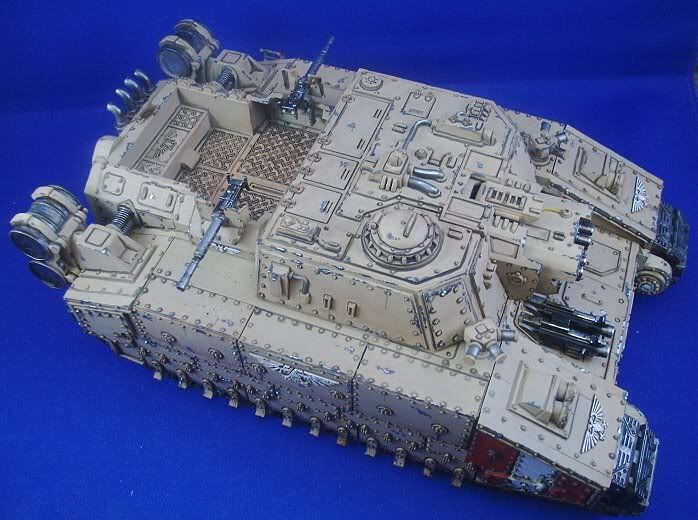
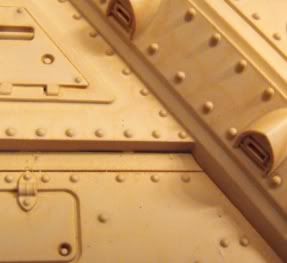
4) Use Charadon Granite to make chips in the paint. Stick to the edges or any place that might take wear.
I didn't have Charadon Granite so I used a mix of Codex Grey and Chaos Black. It is the first time I tried this technique for chipped paint and was quit pleased with the outcome.
5) Add Chain mail to highlight portions of the Charadon Granieto represent deep gouges and highlight the metal.