2008-10-20

Tac Squad Done

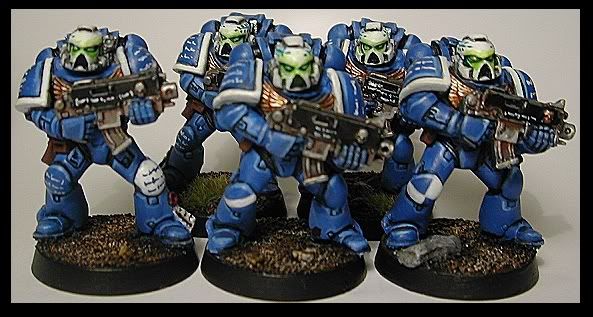
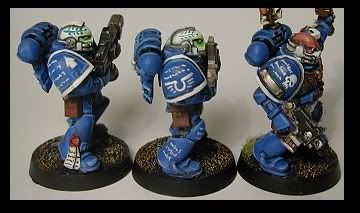
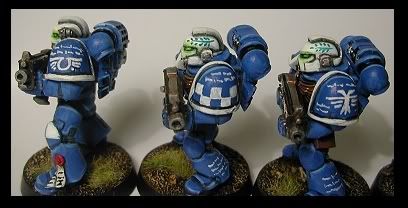
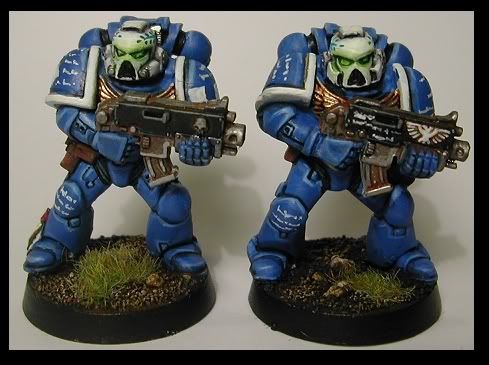
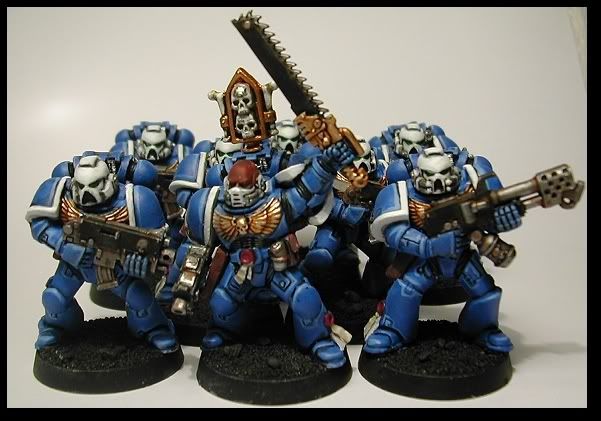
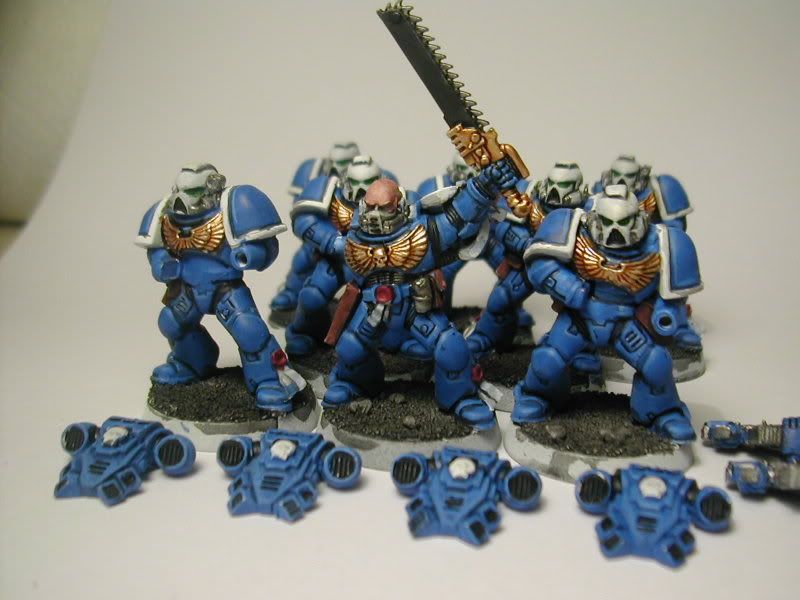
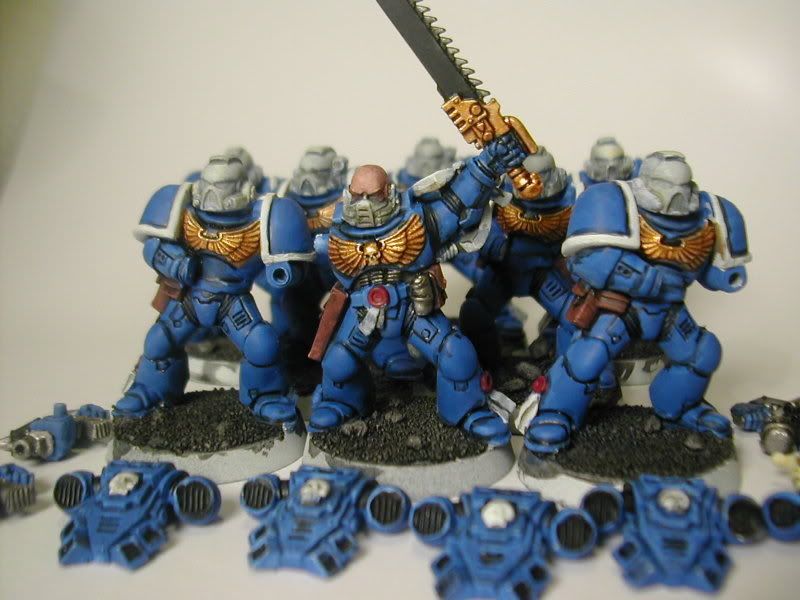
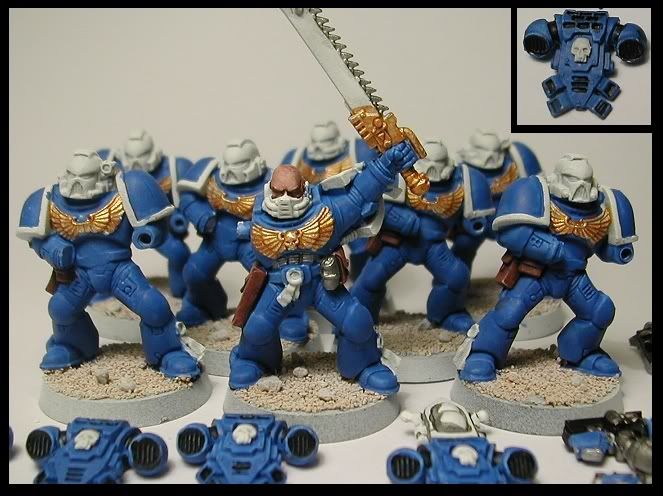
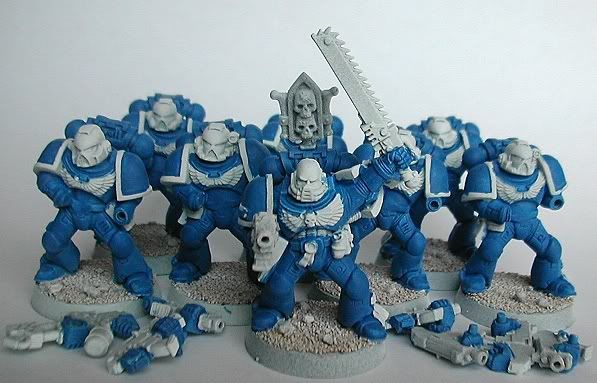
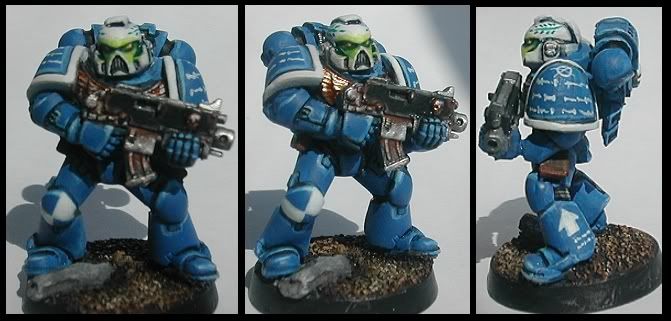
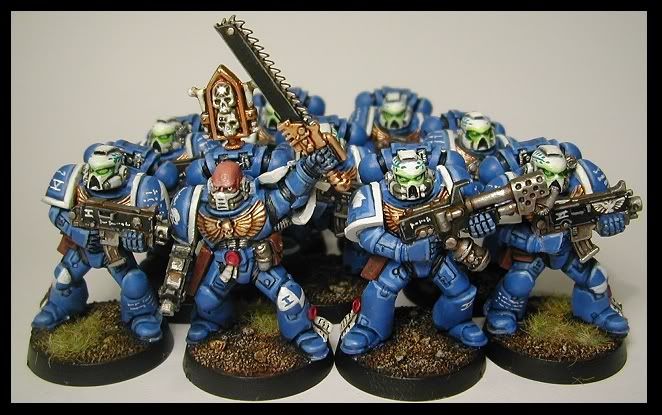
Da TAC Squad: Well, I have finally finished the tac squad. I'm pretty happy with them. They need some extra 'bubbinz' to match the rest of the army (whenever I start that), but that can be added later. I really want to add some fire coming out of the flamer. Maybe I'll try that out with some green stuff. Well enough talky talky... it's time for more pics. Oh yea, if any of you guys ever want to comment on the blog feel free. We'd love to get some feedback.

Cheers,
Jeff C.
a.k.a rebreather


2008-10-17

Ultra Marine Evolution... a.k.a. getting these puppies painted.

Here they are currently. They have been cleaned up a bit and have 2 levels of highlighting. The gold bits have been washed and highlighted. Lastly, the guns have been washed with a vermin brown then a dark wash was put into the cracks. I'll put up a proper "How to paint SM" once they are done. I included the prior pics so you can see the evolution from start to finish.

Cheers,
Jeff C.


2008-10-11

Marines with Glowy Eyes..... Ooooooo, scary

Test Model Revamp: I liked the look of my original test model, but then I made the mistake of looking online. There was a really cool looking sternguard with glowing green eyes. I just couldn't resist. I also added laurels and a bit more writing on the armor. Here is a look at the rest of the unit currently a PIP.


Chaos Tactic Update: The guest blogger working on the Mortal Chaos tactica is coming close to finishing. With only 2 units left, this tome of nasty marine goodness should be ready for your perusal within the week.

Cheers,
Jeff C.

2008-10-03

Dramatic Poses - Orks

Until recently, repositioning orks has been an annoying task. I usually end up getting stuck to the model and the pose isn’t exactly what I had intended. I have found that using polystyrene rods and a pin vice allow one to reposition orks (kind of like action figures) several times until the desired look is achieved and is cleaner when time to glue. Here is what I did:

What you need: pin vice, exacto knife, glue, & polystyrene rod
Step 1: Cut
Step 2: Drill: I don’t normally drill the shoulders, but I did for the tutorial.
Step 3: Insert rods:


Time to pose:: all poses were done with the same ork. The first picture is a standard pose. With a simple twist of the wrist allows for a variety of different looks


Here are some finished orks using this method. These orks are made from a combination of 40k ork and WHFB orc models:

Admin Control Panel

New Post | Settings | Change Layout | Edit HTML | Moderate Comments | Sign Out