2008-11-28

Quick Tip #1 - Drilling Out Gun Barrels

Drilling out gun barrels is necessary. It's a necessity. It's a necessary-necessity of coolness.

"But, can't I just paint black dots?"

No, you may not! Nobody ever shot a bullet out of a black dot...and neither will you.

The big hassle with drilling gun barrels is getting them centered. If the holes aren't centered, the Oooo-you-drilled-out-all-your-gun-barrels effect is totally lost. Wall-eyed guns are not cool.

Step 1: Using a hobby knife, put small notch in the center of the barrel.


Step 2: Use the notch as a guide for your drill bit.


Voila, it's done:


Now, it might take a few practice runs to get it right. So, in case you get all frustrated and feel like retreating back to the lame-o black dots:

Order of Coolness

1. Centered, drilled barrels
2. Imperfectly centered drilled barrels
3. Engraving "Tau-rrific" on the barrel
4. Putting an ork in a pink tutu
5. Black dots

2008-11-22

Ultramarines 1st Company WIP

Well I love the idea of the 1st company army. It also helps that the paint scheme, while simple, is really appealing. In game terms it will be a standard Ultra Marine army. Because their fluff has them all being veterans, these guys are going to be seriously kitted out. The tyranic veterans and stern guard models will be mixed in with the standard TAC squads. Here are a few I have assembled:

Sergeants: These guys are the cream of the crop, hence the big banner that shouts "Shoot here first!"


Squad Leaders: When it's time for combat squads, these are the guys who are in charge. They are marked by a small icon on top of their backpacks and the John-Woo style bolter/pistol combo. In game terms they are just a chump. One of these guys has magnetized limbs. I'll go a post on magnets later.


The Squad: Here is the bread and the butter of the squad, dudes with bolters. I've got several different types of bolters represented to show that these guys have been around for a while. I've got everything from Black Templat bolters to a converted vehicle storm bolter.

2008-11-19

Stripping Paint With Simple Green

So you feel like changing chapters. Well, after some serious paperwork and a few disapproving looks from your former Sergent, its time to repaint that power armor. All you'll need is some Simple Green ( I get mine from the automotive department of Walmart), some models to strip & something to soak them in.

1) Let it soak. These guys soaked for around 2 days & yes that stuff can double for a tyranid digestive pool. If the paint is extra thick it may take a bit longer. More on that later.


2) Scrub, scrub, scrub. The firmer the toothbrush the better. You may need to put some serious pressure behind that brush to get the paint off. For infantry sized models I like to support them by cupping them in my hand while I scrub. Don't be surprised if parts start breaking off. The Simple Green seems to weaken the glue a bit.


3) Wash and repeat. Here is what he looked like after a few minutes of scrubbing. There looks like there is a lot more paint on it then there really is. Once they dried, most of the black turned to grey.


Here are a few all dried off after a good scrubbing.


**For models with really thick paint, you may need to soak them more than once. This model has been primed white, primed black, then painted Vomit Brown. It was a serious mess. I let it soak for a week and started scrubbing. It wasn't making much of a dent so I threw it back in and forgot about it. A few months later I got it back out and scrubbed some more. The paint was coming off really well, but I think it needs one more bath in simple green to really get it good and stripped.

2008-11-16

Painting the Monolith

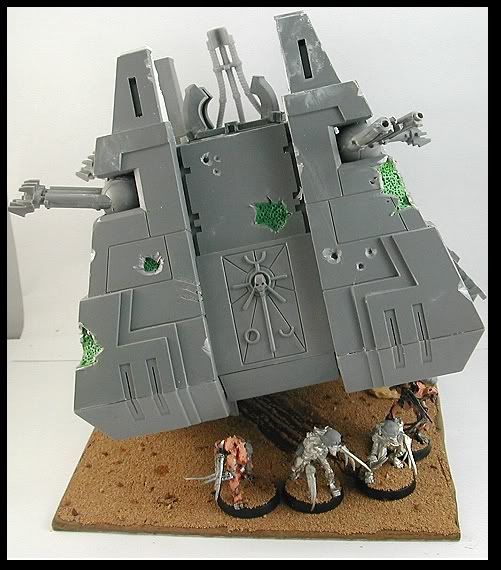
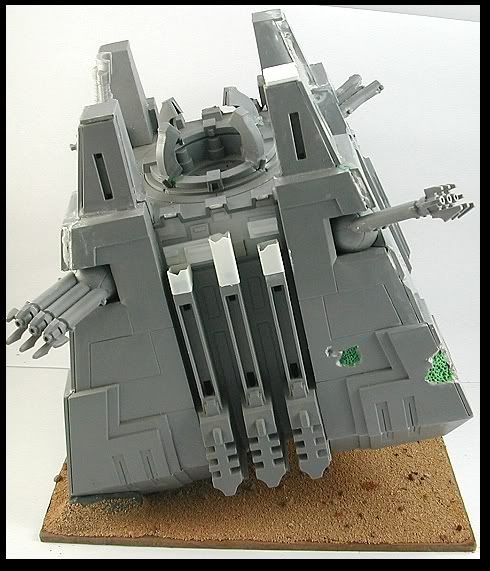
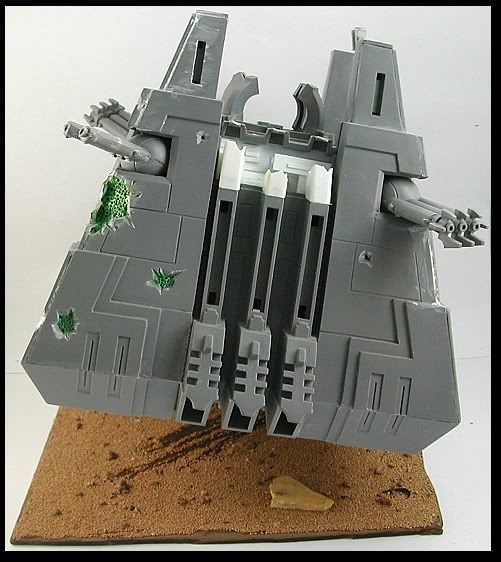
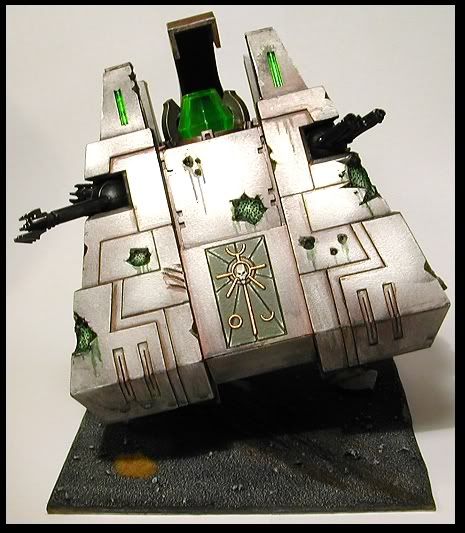
I like the Necron. They are quick to paint and look great. Modeling the battle damage took much longer than the paint job. Thanks to the use of an airbrush, it was even faster than normal. Here's how I did it: CLICK FOR BIGGER PIC


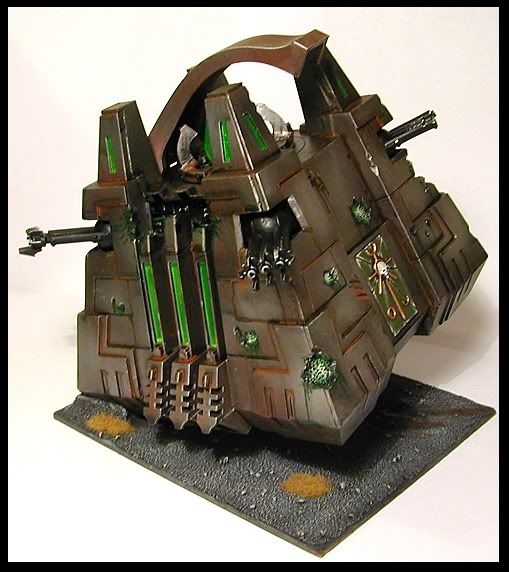
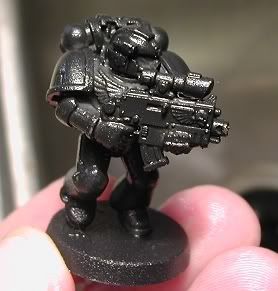
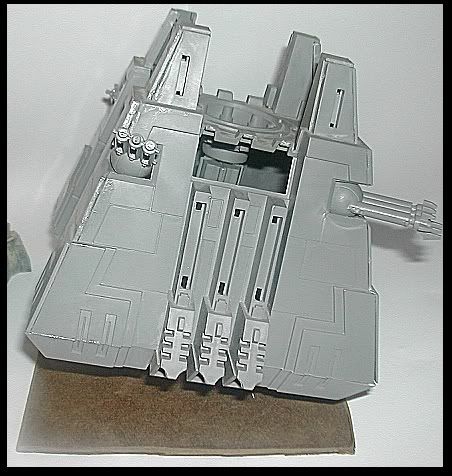
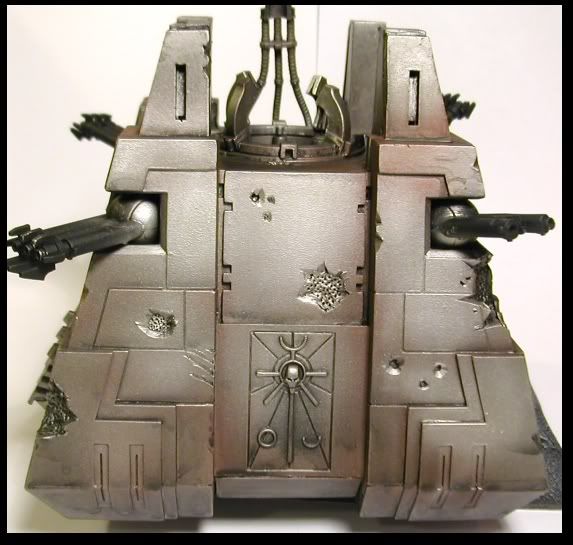
1) Prime Black & Paint everything Bo
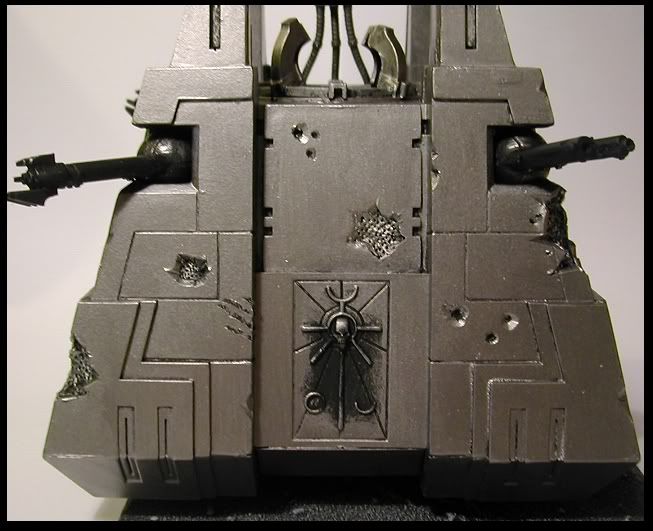
lt Metal but the guns


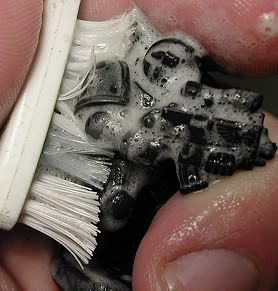
2) Airbrush (nickle size spray) inside corners & lines with very thin wash of black (watered down cheap paint)


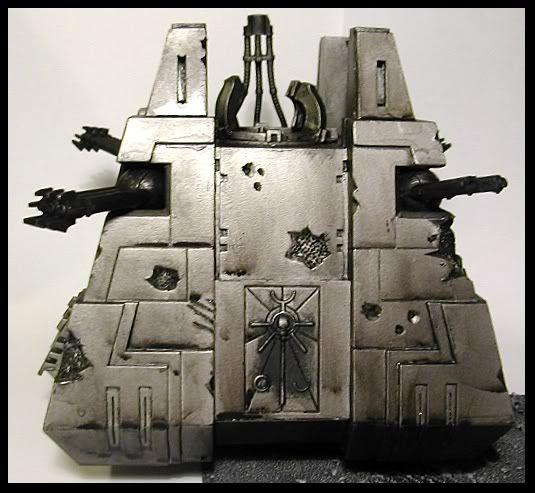
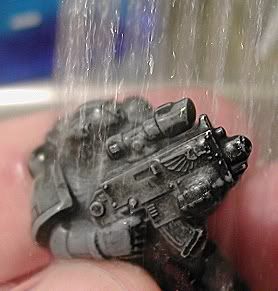
3) Airbrush inside corners & lines with Dark Flesh. Make this a bit patchy.


4) Airbrush flat areas with Boltgun Metal. Try to stay away from the inside corners.


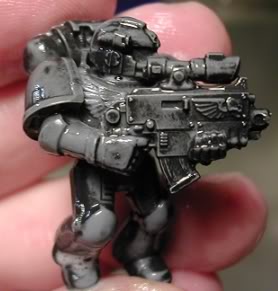
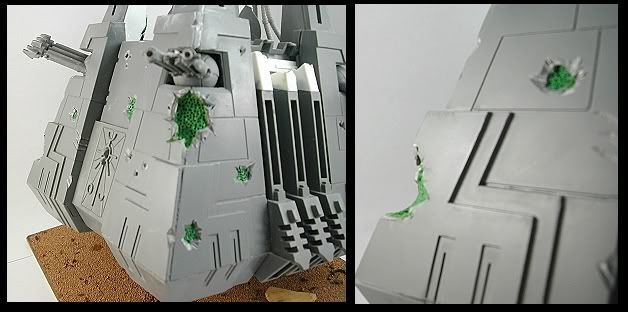
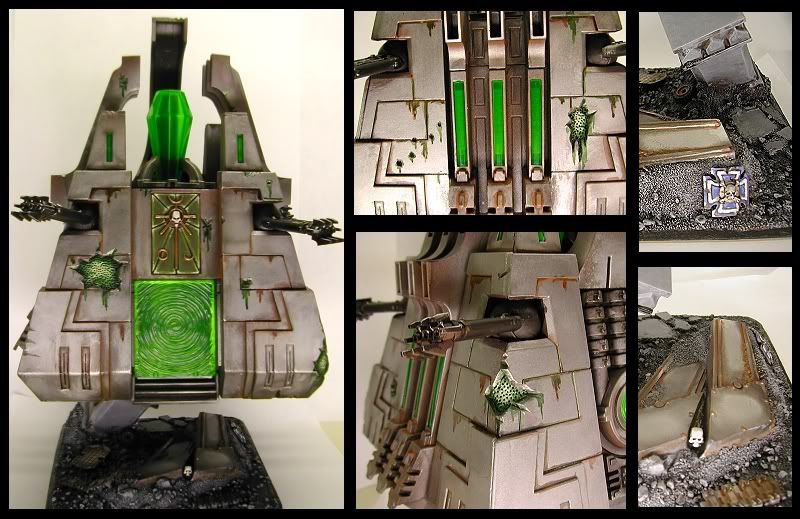
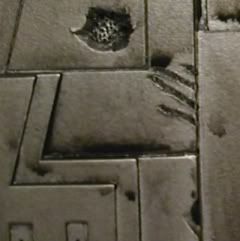
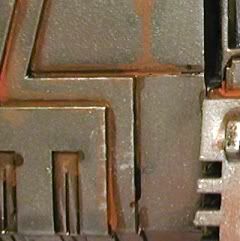
6) With a detail brush, paint dark brown ink into all to the inside corners & cracks. Then paint a Watered down Vermin Brown wash on battle damage, inside corners, & lines. This is where you make the dripping rust effect. Here is the recipe for the ink I use. It seems a bit elaborate, but it's good stuff.

Dark Brown Ink: 6 part water, 3 part Future Floor Finish, 2 part Flesh Wash, & 1 part Black Ink.


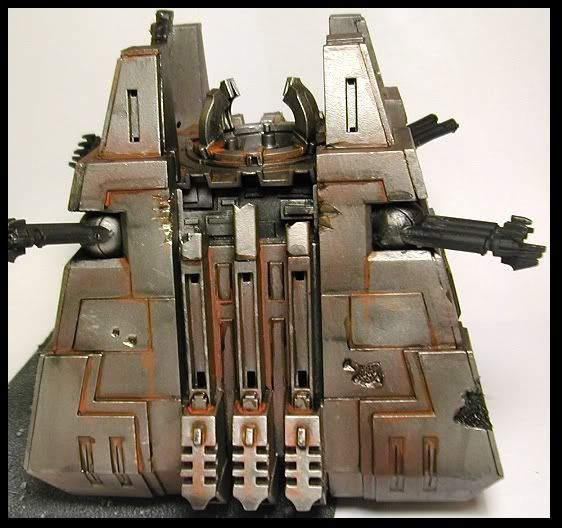
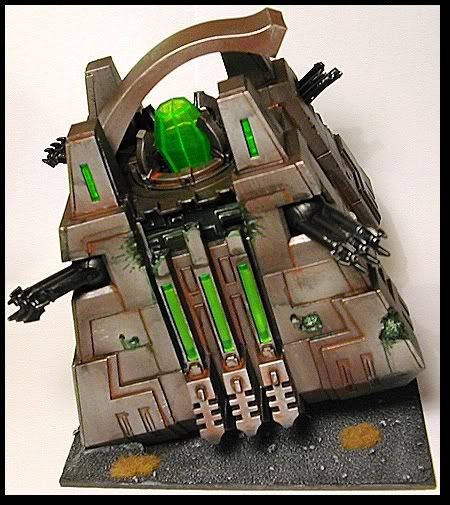
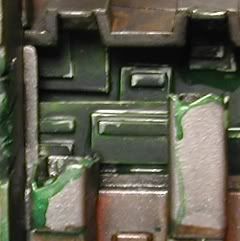
7) Paint a wash of four parts green ink, one part black ink, four parts water--onto the damaged areas and any depression made too bright by the vermin brown.


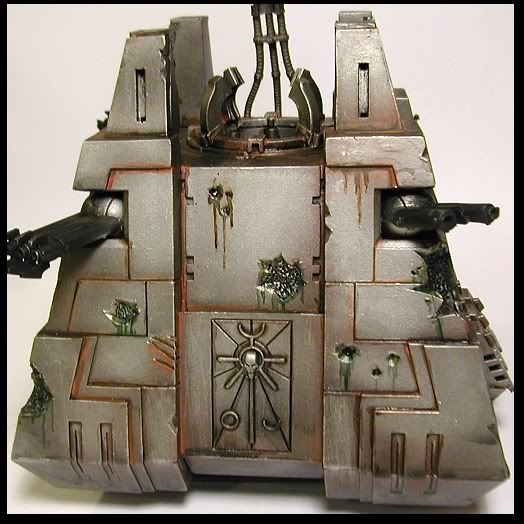
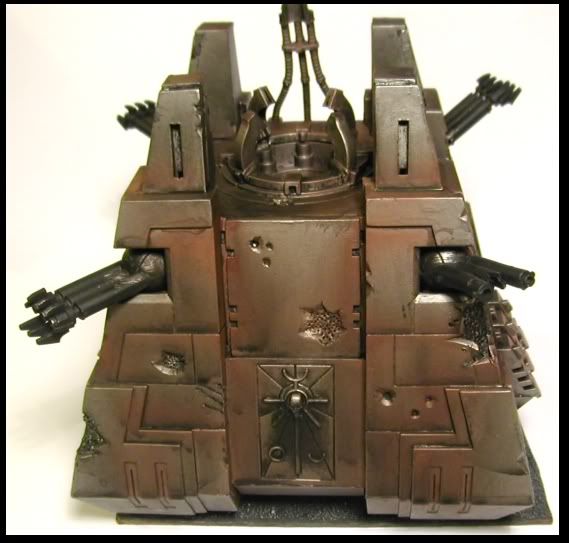
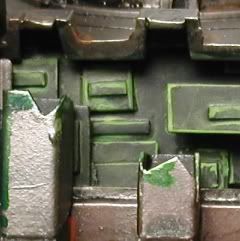
8) Three parts Dark Angel Green, one part Chaos Black painted onto damaged "Living Metal"areas


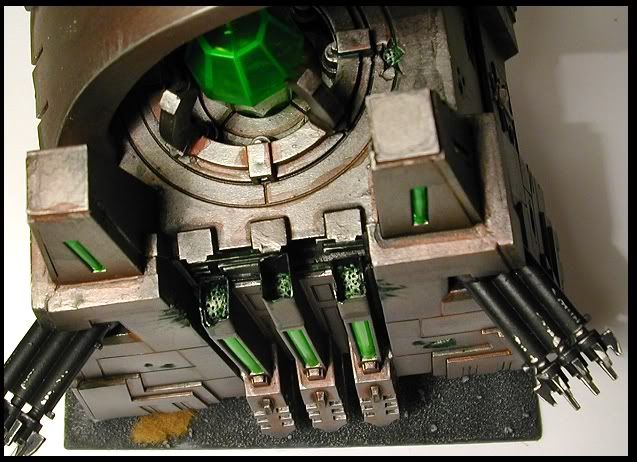
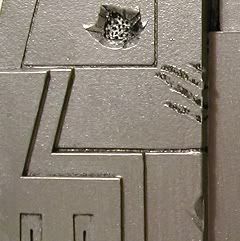
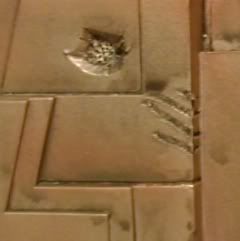
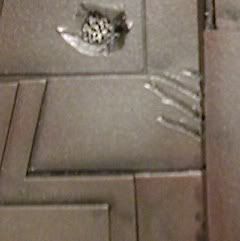
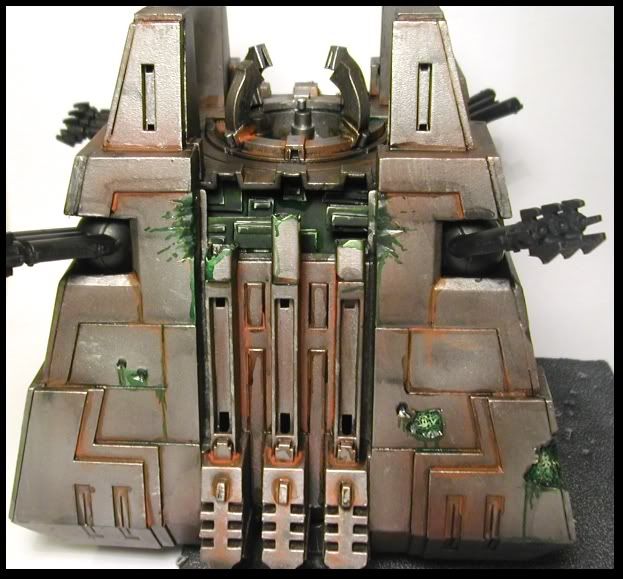
9) The exposed 'Living Metal' parts were dabbed with snot green, snot green with bleach bone, & then finally bleach bone.


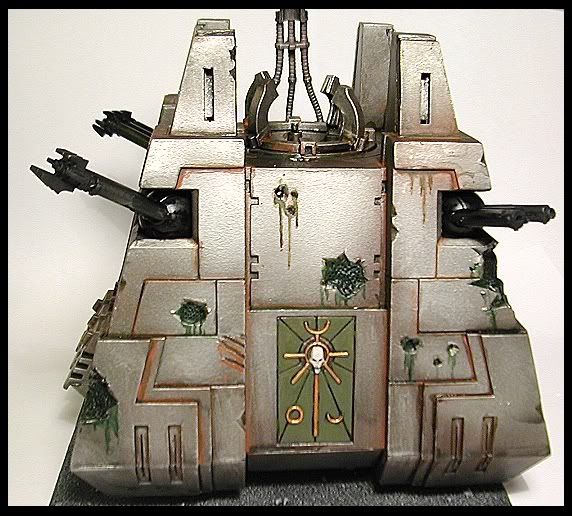
10) the door was painted Catachan green & highlighted with Catachan green plus a bit of bleach bone.

11) the side damage was done with a highlight of goblin green along the edges. This was proceeded by a light snot green wash, a three parts Dark Angel Green wash, and a highlight of bleach bone on the edges


12) a very light rough highlight of Chainmail was added to the edges. I used a tank brush on the armor plates so it would look like fresh scrapes. The weapons were left black with a thin highlight Chainmail on the edges.

2008-11-13

Beam Me Up Scotty.... Monolith Phasing Out

This is a monolith that I got cheap. And it was cheap for good reason, not only was it missing some pieces, but it looks like it was assembled by a 3 year old. The idea behind this one will be a mortally wounded monolith desperately trying to phase out before it goes critical. C&C welcome as always.

2008-11-11

Flayed ones done.

How Flayed Ones Infiltrate
--"Hey Sergent, that new trooper looks a little strange, I've heard of having a metal plate in your head but that's a bit much."

--"Private! Don't you worry about the new recruits, if he's in our uniform he's one of us. Now quit your lallygagging and find me some necron to shoot!"

Well I finally got them finished. They are no Golden Daemon winner, but I'm pleased. At our local game shop we have often joked about the ability for flayed ones to infiltrate. Who in there right mind isn't going to see a robot with huge claws covered in bloody strips of human skin sneaking up on them. These guys are my response to that ever important question.

2008-11-09

Flayed ones for the win

I'm not a big fan of flayed-one's fluff or models. I think their pretty gross. I know, I know, it's a game about war, but seriously, wearing peoples skin, no thanks! I have had no interest in playing them, until I tried them out on a whim. Man these things are great with the new flanking move. I only take 4, & they are just there to harass, but man do they do the job. Now that I'm using them I had to figure out a way to change the model. So, my not so nasty flayed-ones will be wearing remnants of their enemies clothing. I know, it's not as cool as skin, but that huge necron noggin shoved into a tiny IG helmet is pretty funny.

2008-11-04

The Necron Are Back!

I had a wacky idea a few weeks ago... 2 monoliths in a 1750 list. This meant I would have to dump my beloved destroyers, but what the heck it might be crazy enough to work. And it did. So it's time to get that second monolith battle ready.
Sticking with my "Night of the Living Dead" theme, this monolith will be badly damaged. I idea behind this one is that it has just gone critical prom a penetrating hit & it's desperately attempting to phase out before it explodes. We'll see if I can pull it off. Here are a few WIP pics.


Admin Control Panel

New Post | Settings | Change Layout | Edit HTML | Moderate Comments | Sign Out