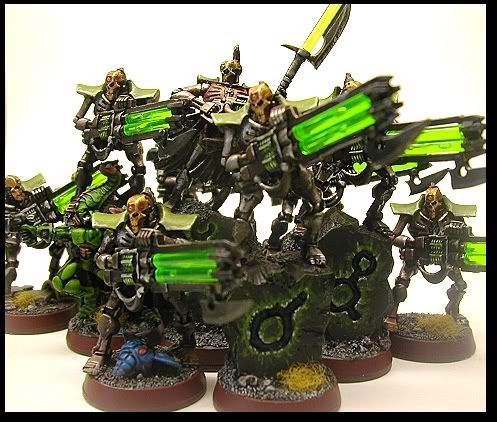
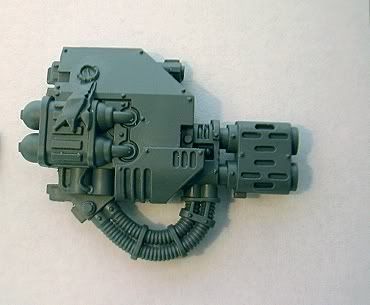
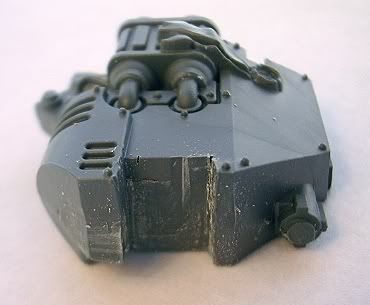
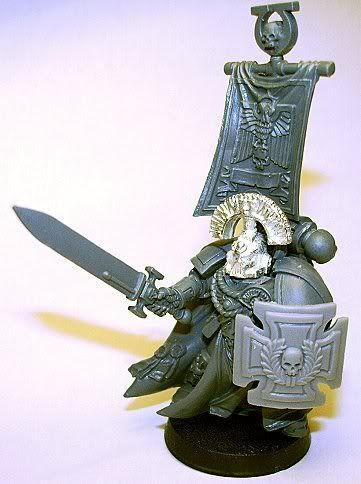
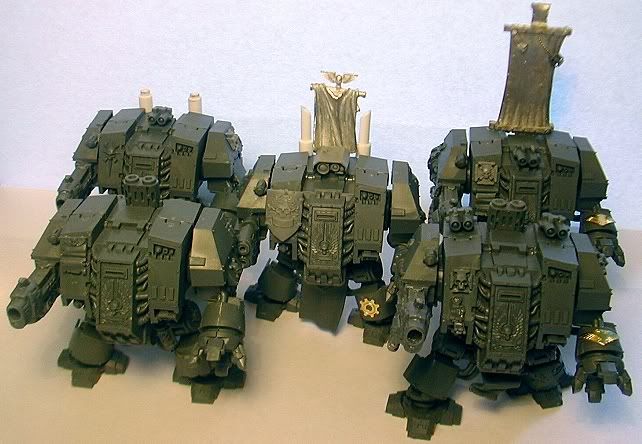
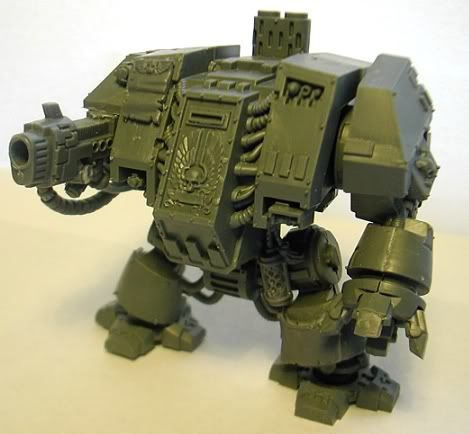
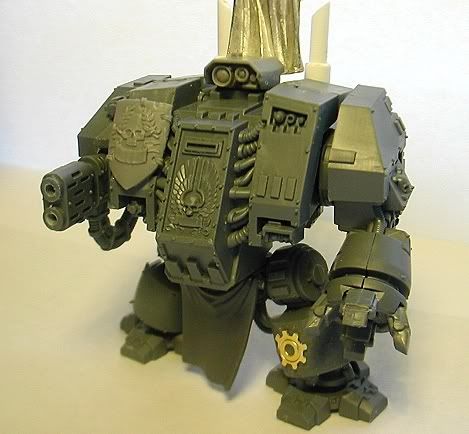
So you've got your new Assault on Black Reach (AOBR) box set and are staring at the new Dread. How sweet, a brand new dread with close combat weapon & multimelta... wait a second, a multimelta... really!?!?!?! Yea, those are the brakes. Those AOBR Dreads are good looking and dirt cheap ,but they come with a multimelta, probably the most pointless weapon in the Dread arsenal. Here's how to make some lemonade out of lemons.
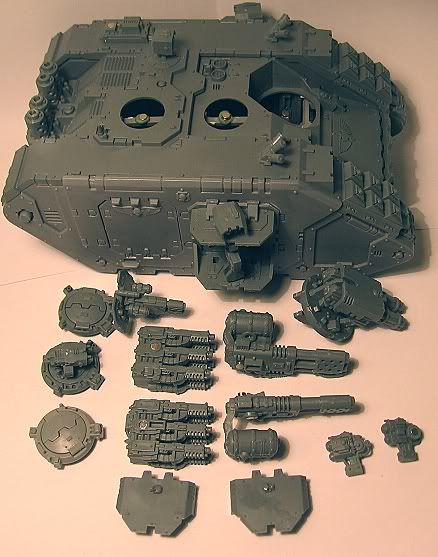
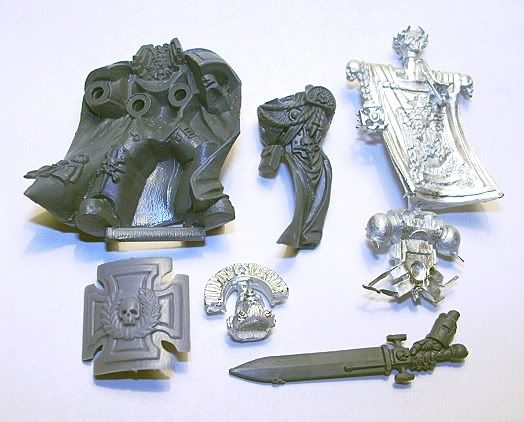
Here is what you need:
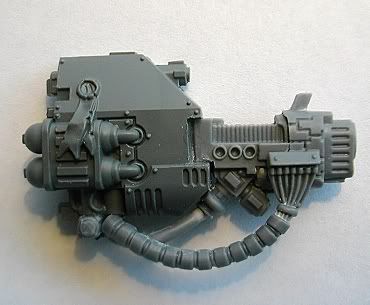
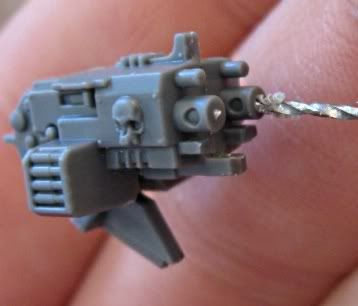
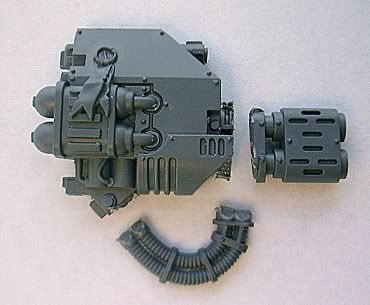
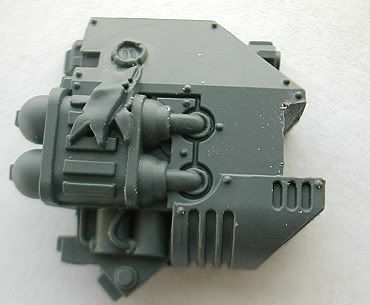
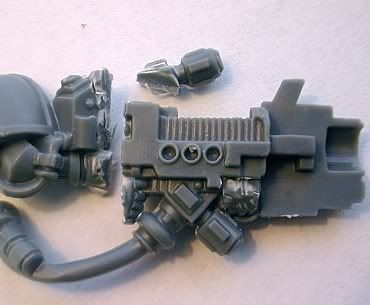
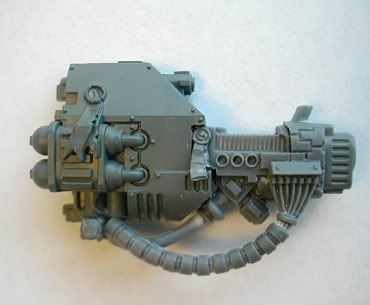
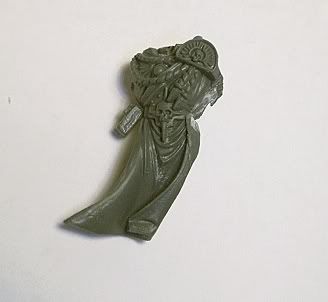
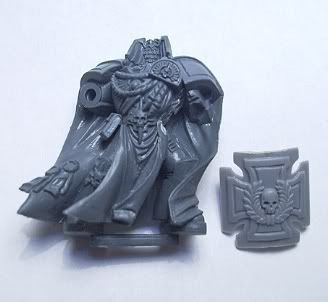
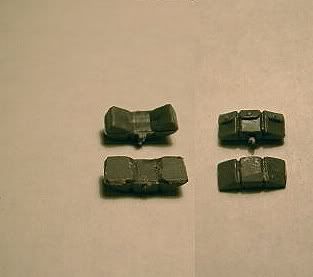
AOBR Dread Multimelta arm & Space marine Plasma Cannon
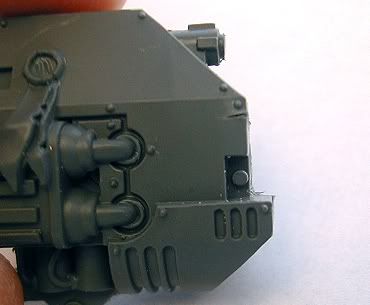
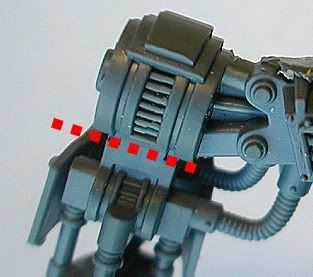
Step 1: Start chopping up that multimelta. Cut off the barrel and the hose.
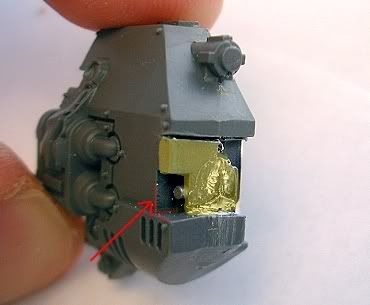
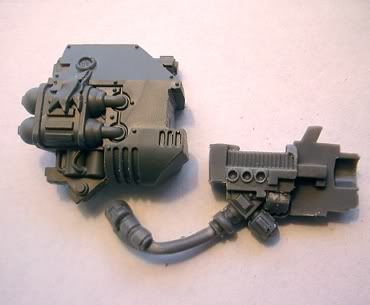
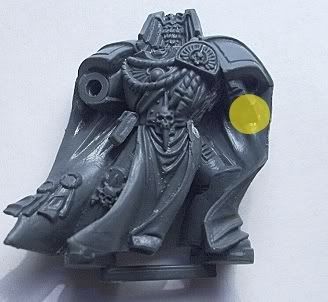
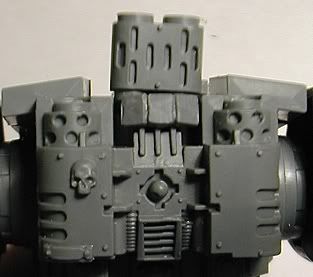
Step 2: Carve out a place for your plasma cannon to fit into. Start by filing down the leftover barrel parts (pic 1). Next, file/cut the section in yellow until it is flush with the rest of the indention. I like to start by making a cut with my hobby knife that I use as a guide.
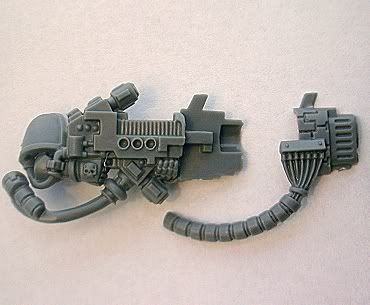
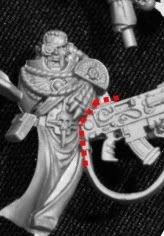
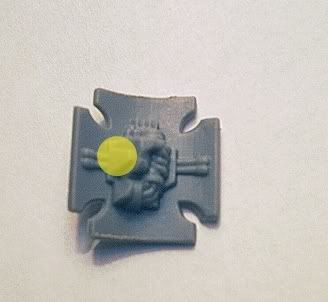
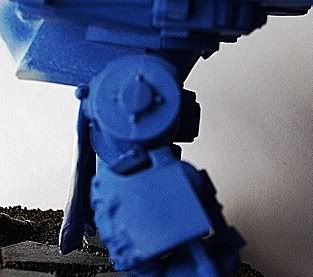
Step 3: Start chopping up that plasma cannon. Start by cutting off the space marine hand bits from the front of the plasma cannon (pic 1 & 2). Next, cut off the back of the gun along with the shoulder pad and the top bit. Save the top part for later, you might need it. The last bit of had left at the trigger will be removed when you start trying to fit the cannon into the arm.
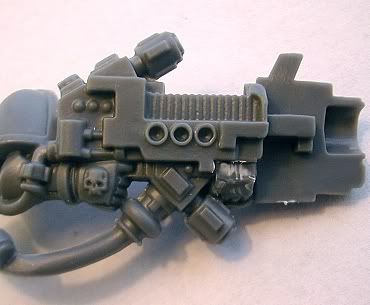
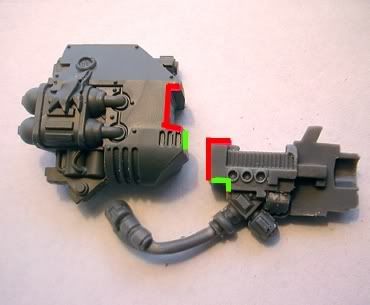
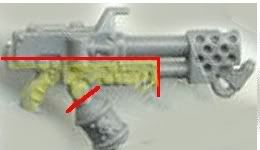
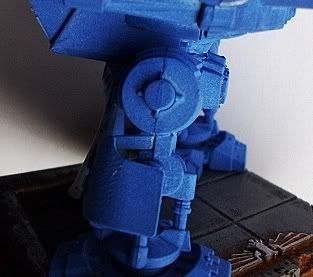
Step 4: it's time to connect them. This is the worst part, lots of filing. Cut that left over bit of hand out and start test fitting. Keep filing until it fits. Highlighted below are the areas that I had to file down, the green to the most filing work.
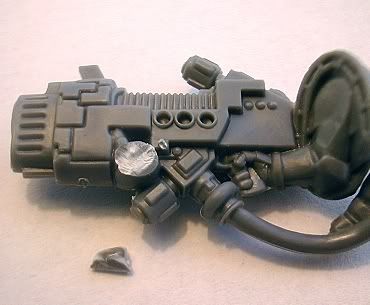
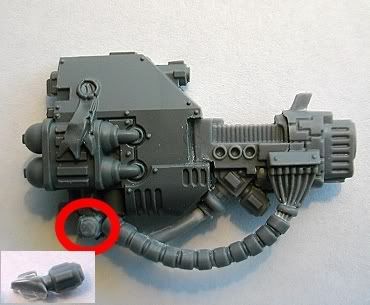
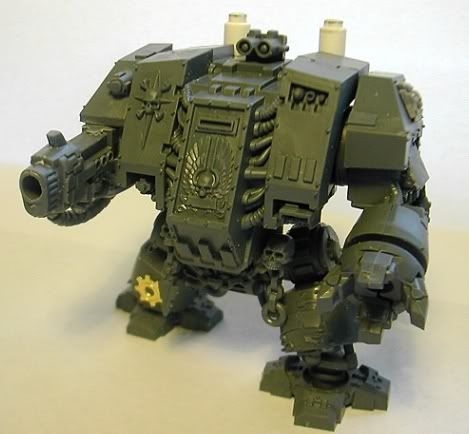
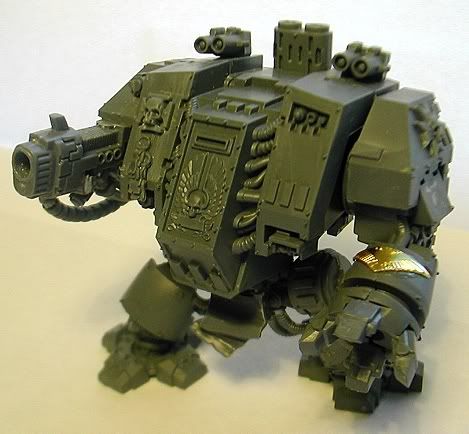
Step 5: gluing the front of the plasma cannon on and attaching the hose. Make sure your cannon is straight & glue that bad boy in. Cut the hose where it meets up with the old melta hose connection. Remember that odd little top piece that we were saving for later, glue it in next to the hose to hide the connection point. I also Used a purity seal to cover the gap between the cannon and the arm.
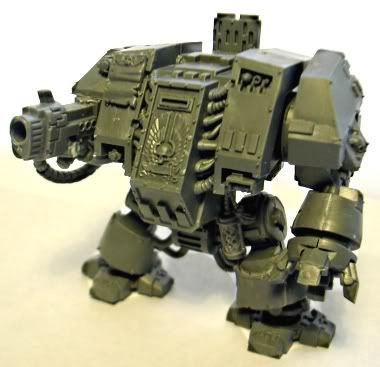
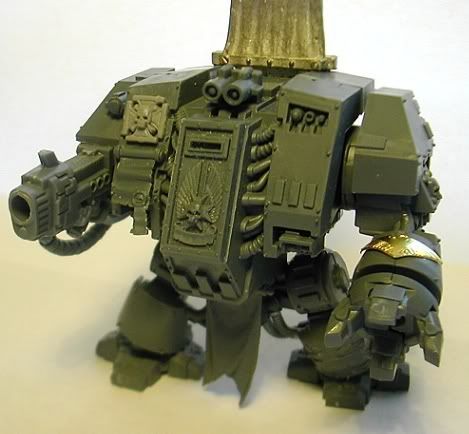
There you have it, a brand spankin' new plasma cannon to rain super heated death upon your opponents heads.
Cheers,
Jeff C.

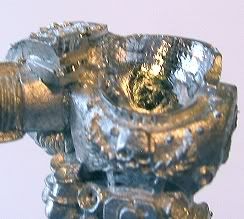
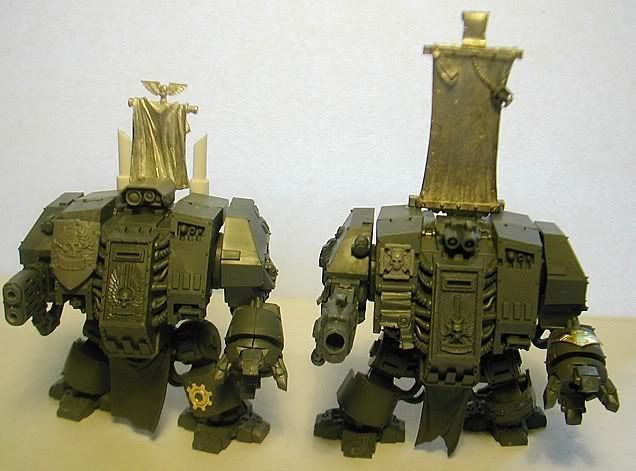
 Let me start by saying that yes, these pictures stink. I blame my wife's camera, but it will do for now. Anyway, here is how I did it:
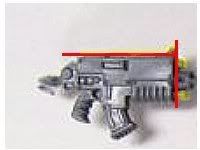
![Reblog this post [with Zemanta]](http://img.zemanta.com/reblog_b.png?x-id=ba1bfaf5-0eb9-47d5-98f6-e4ac5cfef58f)