So you want to paint some orks... well you've come the right place. My method seems a bit lengthy, but it really isn't to bad (the secret is in the ink). The only thing I do differently now is the addition of rust. Check out the Rust Tutorial for more info on that. Alright, enough talk. Grab you paints & favorite movie (I like really bad scifi), it's time to get green!
 Cheers, Jeff C.
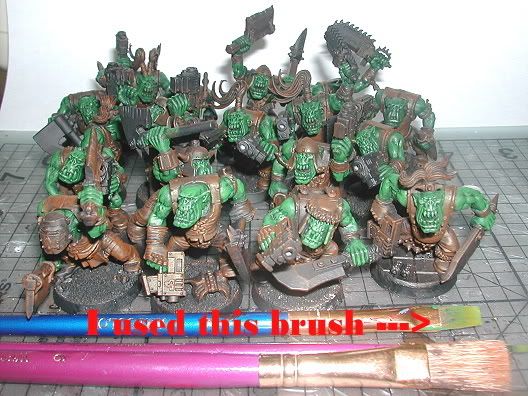
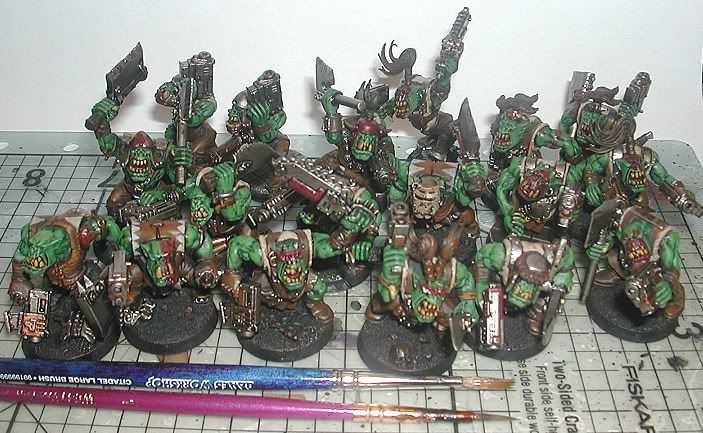
(1) base black
(2) drybrush scorched brown
(3) drybrush bestial brown
(4) block in dark angels green
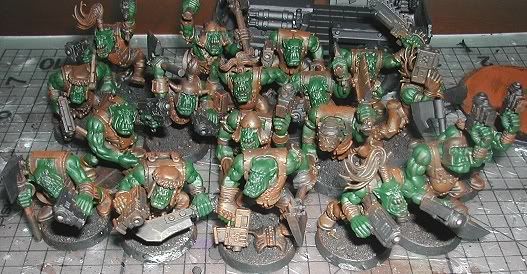
(5) drybrush snot green
* for skin I use a flat brush to drybrush. For the initial brown drybrushing I used the fatter, stiffer brush below.
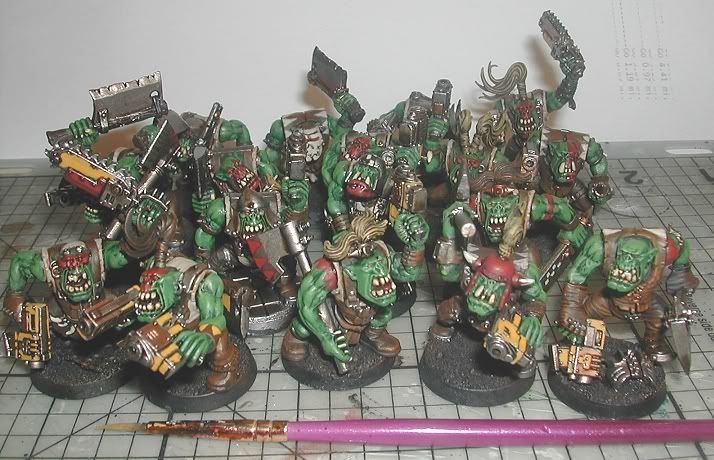
(6) drybrush goblin green with a little snot green mixed in.
(7) block in boltgun metal
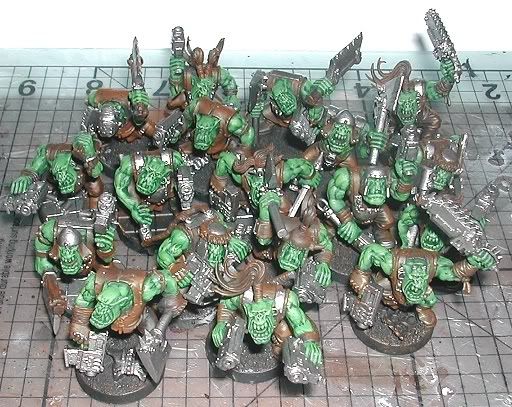
(8) block in dwarf bronze mainly on guns
(9) block in snakebite leather for their shirts. A few were left scorched brown so it would look more like leather.
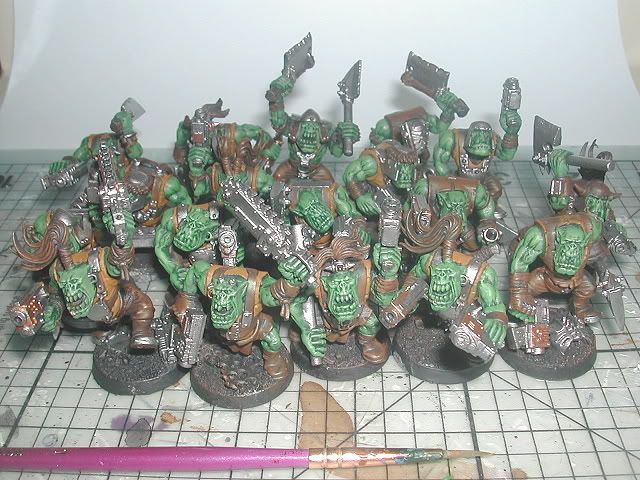
(10) block in KommandoKhaki over the snakebite leather (11) warpaint on skin & weapons Scab Red
(13) Lightened up the red paint with some Red Gore, then a 50/50 Red Gore & Blood Red mix. (14) Added some yellow mainly to the guns. First it was a coat of Bubonic Brown then I lighted it with a coat of Golden Yellow. I made sure to let the edges of the Bubonic Brown show through (basically a very simple blend).
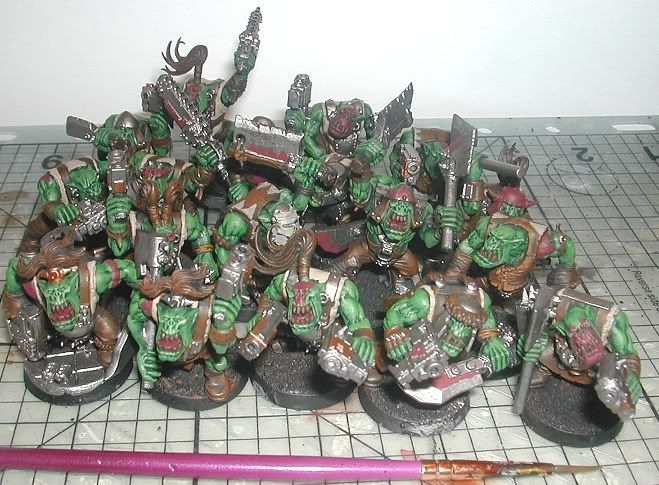
(14) I used future floor finish, water, a little green ink, & even less purple. I used it to help define the muscles. You'll see a close up in the upper left corner. I was pleasantly surprised.
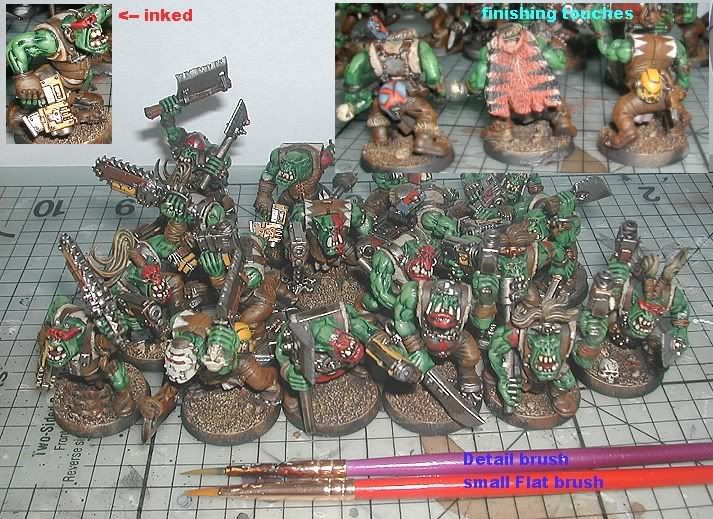
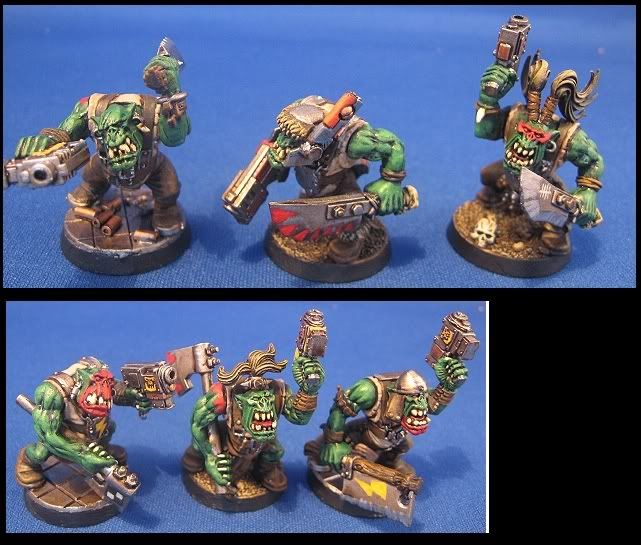
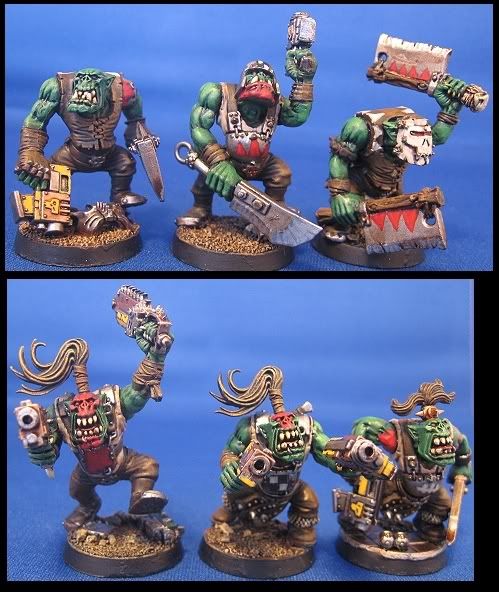
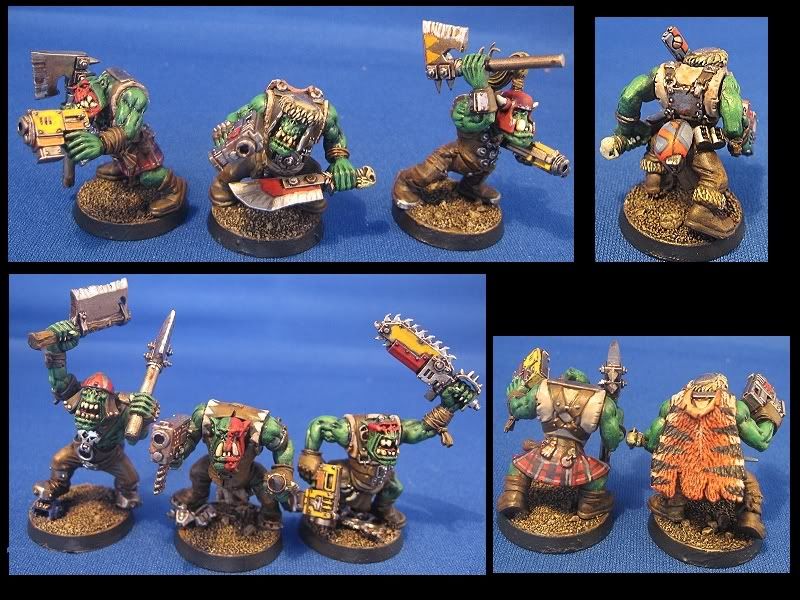
And here they are...