Beginning Preparations
To start, make sure that your vehicle is almost finished. When painting a vehicle I paint the metallics, ink, block in color, and then add details. This is where the Rest Effect tutorial starts.
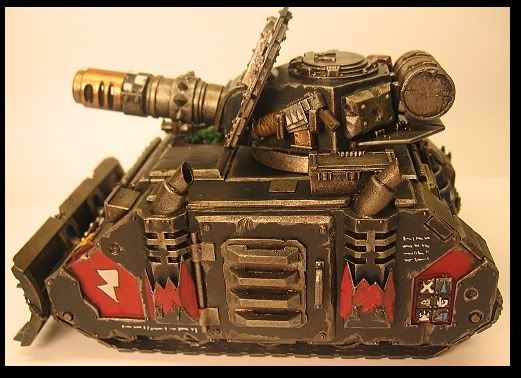
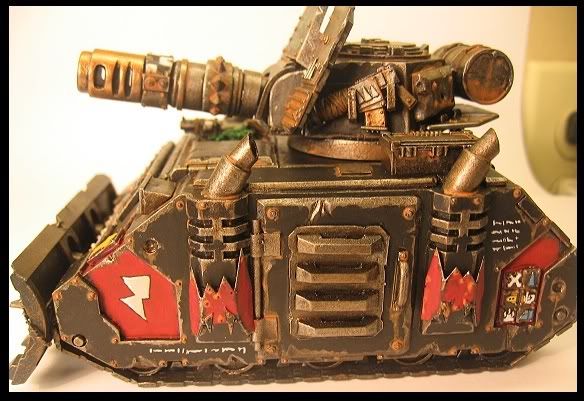
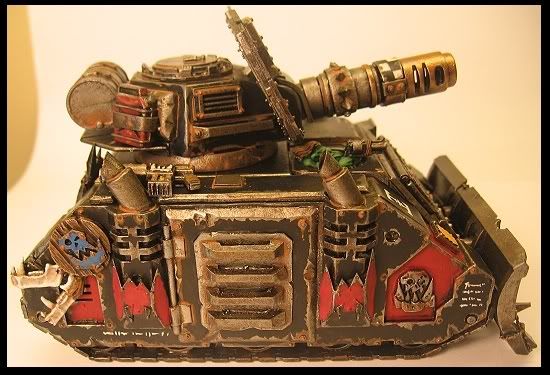
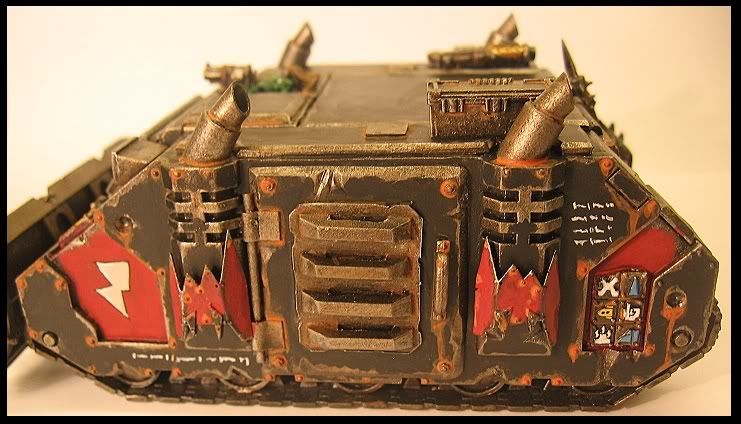
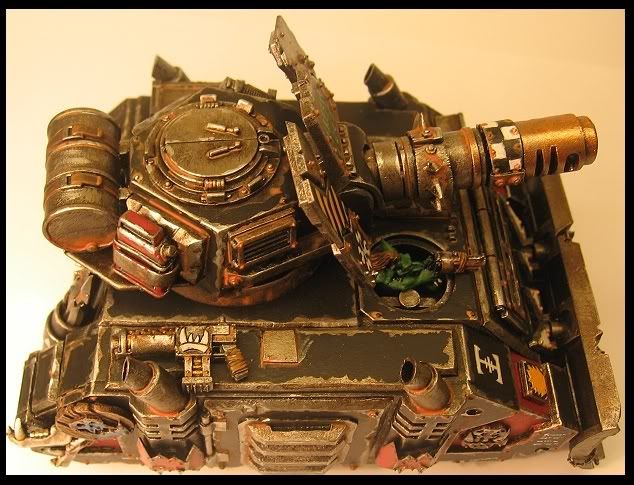
Before: 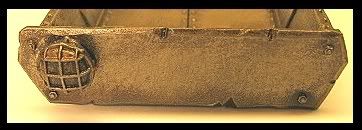
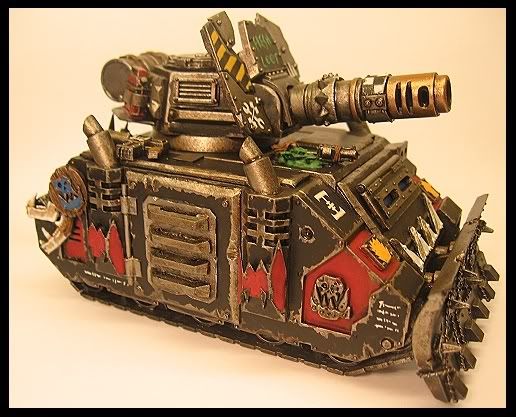
After: 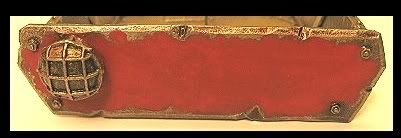
Step I: Watered down Vermin Brown
Use watered down vermin brown. It should be translucent when spread thin and opaque when in a watery blob. If you feel that it is a too light, add a bit of Dark Flesh to the mix. Place this mix anywhere it would rust: around bolts, in corners, underneath overhangs, and around battle damage. Remember that rust will run down and pool. When your painting rust, think about how water would run down the vehicle, that is where you want to put the rust
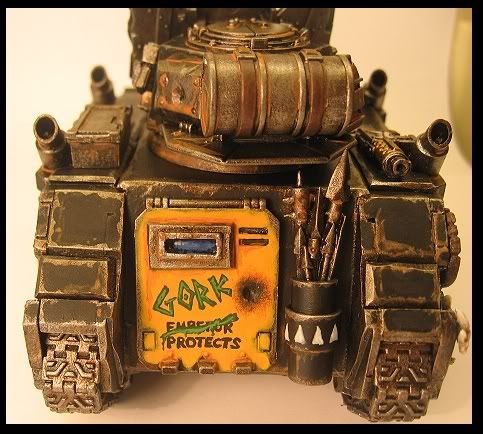

Use watered down Blazing Orange. Make this mix waterier than the Vermin Brown from the previous step. Paint the watered down Blazing Orange in to the same spots that you did the Vermin Brown, staying closer to the source of the rust (blot, rivet, battle damage etc…).

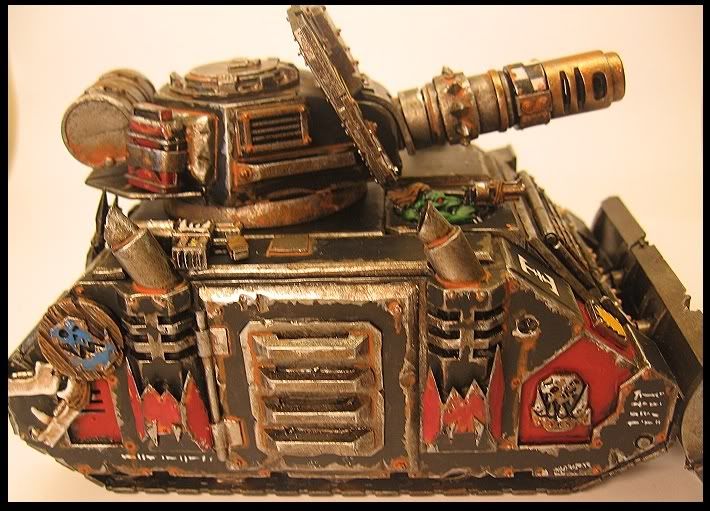
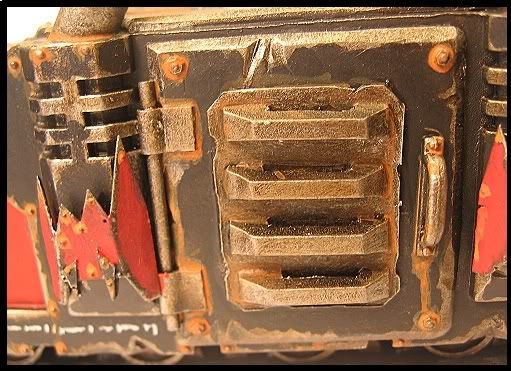
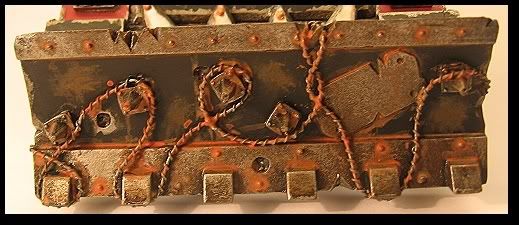
Step III: Metal Highlight
The final step is highlighting the edges with Chain mail. Use a thin brush and paint it on to the edges sparingly. Focus on corners, battle damage, or anything you want to stand out. I usually add some to random bolts & rivets.


***Note: If you feel that some of the detail is being lost due to the rust effect, try painting a small amount of brown ink around cracks and rivets. For a good ink mix see the Painting the Trukk tutorial.